- Photographic device (DSLR camera or camera phone)
- A neighbourhood to walk in
- Notebook if you wanna take notes
1
Neighbourhood Watch: Lesson 1
1
Neighbourhood Watch: Lesson 1
2
Neighbourhood Watch: Lesson 2
3
Neighbourhood Watch: Lesson 3
4
Neighbourhood Watch: Lesson 4
5
Neighbourhood Watch: Lesson 5
6
Video Editing with Paper: Lesson 1
7
Video Editing with Paper: Lesson 2
8
People Garland: Lesson 1
9
People Garland: Lesson 2
10
People Garland: Lesson 3
This project was inspired by one of my daily ‘government approved’ walks around my neighbourhood during lockdown. It was around 5:30 pm, the light was hitting just right. The sky was doing all sorts of orangey-bluey things, I reached for my pocket to take a photo with my phone, only to remember I had left it at home... Since then I have taken my phone on every walk and proceeded to document these small but special trips.
Equipment
Guiding Questions
Think about these questions as you work your way through the lesson:
Instructions
Go for a walk around your neighbourhood with your photographic device. I prefer to use my phone purely because it's less fuss, quick and ‘snapshotty’ and I don't have to lug a heavy lens around. But feel free to use a camera if you want
Look around and start to take notice of the scenes and compositions around you. Photograph these, thinking about it briefly and moving on
By the end of your walk, you should have at least 10 successful images. By successful I mean, images that you don’t completely hate and have the urge to delete instantly
Once you are safe and sound in your home, you can review your images. Now you can make note of what photographic principles you might have engaged with in your pics
Do this walk-photograph-review process at least 2-3 times, to get as many photos as you can. This can be an ongoing process over a couple of days

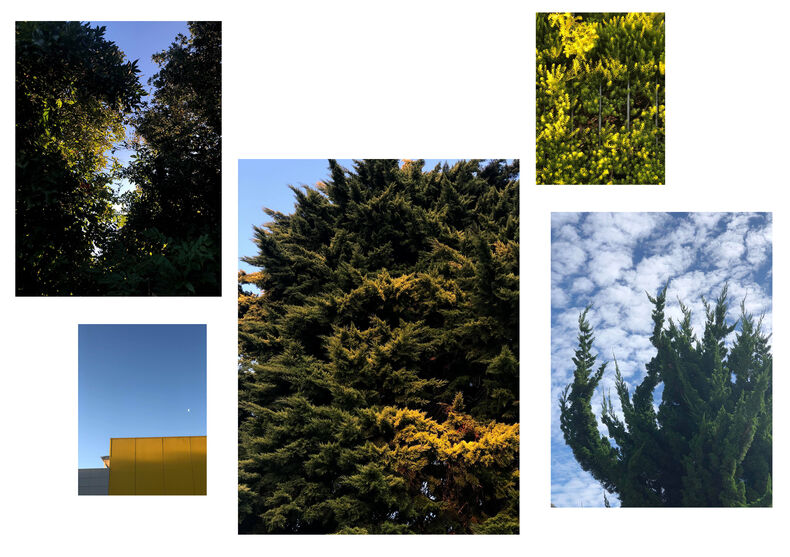
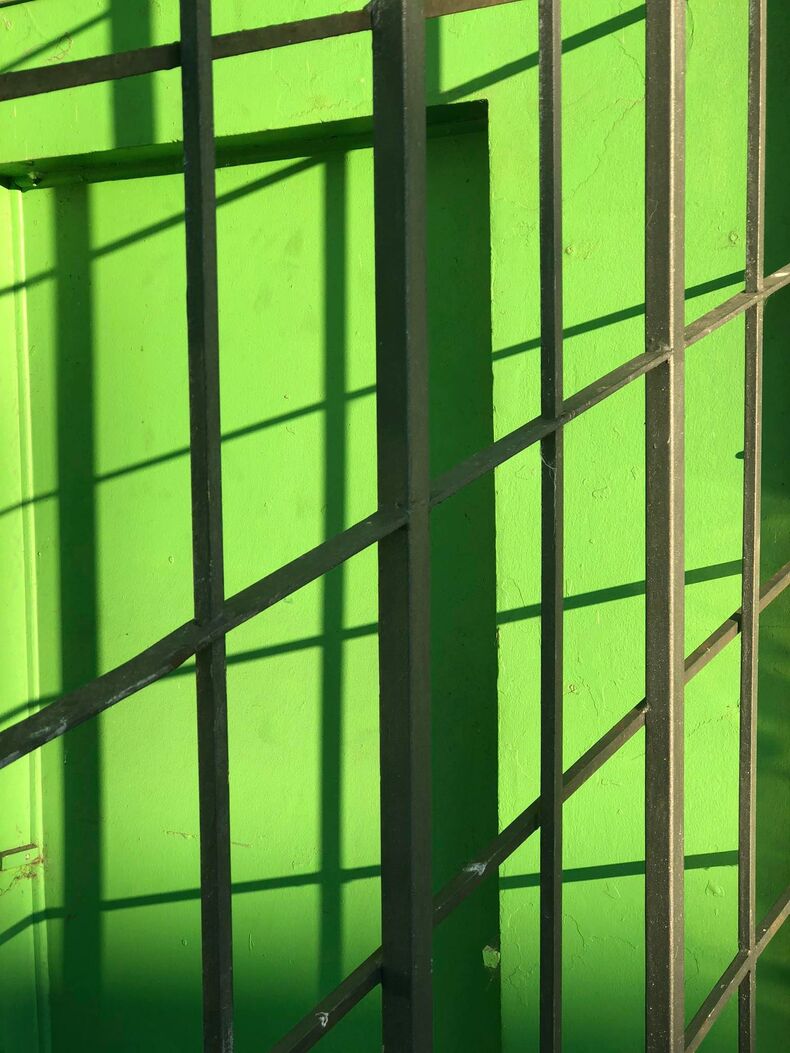
Image examples
Lesson Content
During my walks I started to take notice of the scenes that caught my attention. Because I am so used to taking photos, my brain has sort of hardwired itself to look at everything as a potential composition for a photograph. Like that Golden Retriever from UP with squirrels, but I get distracted by little scenes that catch my attention. I am usually drawn to texture, pattern and colour. The other really important thing is composition. This refers to the whole image and how it is framed.
Composition and framing should be an intentional choice you make when taking a photo. Choosing not only WHAT is in the frame, but HOW this works as an overall image.
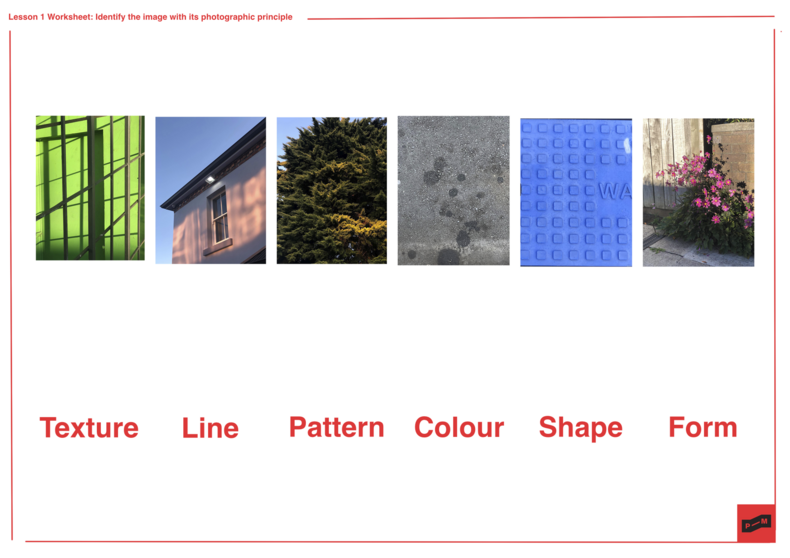
The composition is one thing, but content is another. This is where we can start thinking about our photographic/design principles, which include:
Line can move the viewers gaze to a subject matter and alter the mood of the image. Straight or severe lines can give an image a sense of seriousness. While images with soft or curvy lines can give images an organic and calming effect.
When an image's focus is a clear shape or object. Usually defined and recognisable with not much other visual disturbance.

Look for composition and content
This shows the detail of the subject, strong highlights and shadows usually emphasise the subject's form.
Texture often creates a visceral reaction in viewers. The idea is to be able to portray how the scene may physically feel through a 2D image.
Patterns can be found all around us, however, it is often left overlooked or unnoticed. Finding a pattern often involves ‘zooming in’ and looking at things close up.
Colour, in reference to photography, is mostly about hue and saturation. Every colour has its own mood or feeling associated with it and can create different effects on the way an image is ‘read’.
Now that you have an idea of some basic photographic principles (even if you already knew these, it's helpful to revisit as you may discover a new and different way of seeing), you are ready to go out and start taking some photos.

Photographic/design elements worksheet
Citations
Services, P., Blog, R., & Photography, M. (2020). 7 Basic Principles of Design Photography