- Collage materials: magazine/newspaper/paper/drawings
- Paper
- Glue
- Scissors
- Pen/pencil
- Round lids/bowls to draw around
1
Neighbourhood Watch: Lesson 1
1
Neighbourhood Watch: Lesson 1
2
Neighbourhood Watch: Lesson 2
3
Neighbourhood Watch: Lesson 3
4
Neighbourhood Watch: Lesson 4
5
Neighbourhood Watch: Lesson 5
6
Video Editing with Paper: Lesson 1
7
Video Editing with Paper: Lesson 2
8
People Garland: Lesson 1
9
People Garland: Lesson 2
10
People Garland: Lesson 3
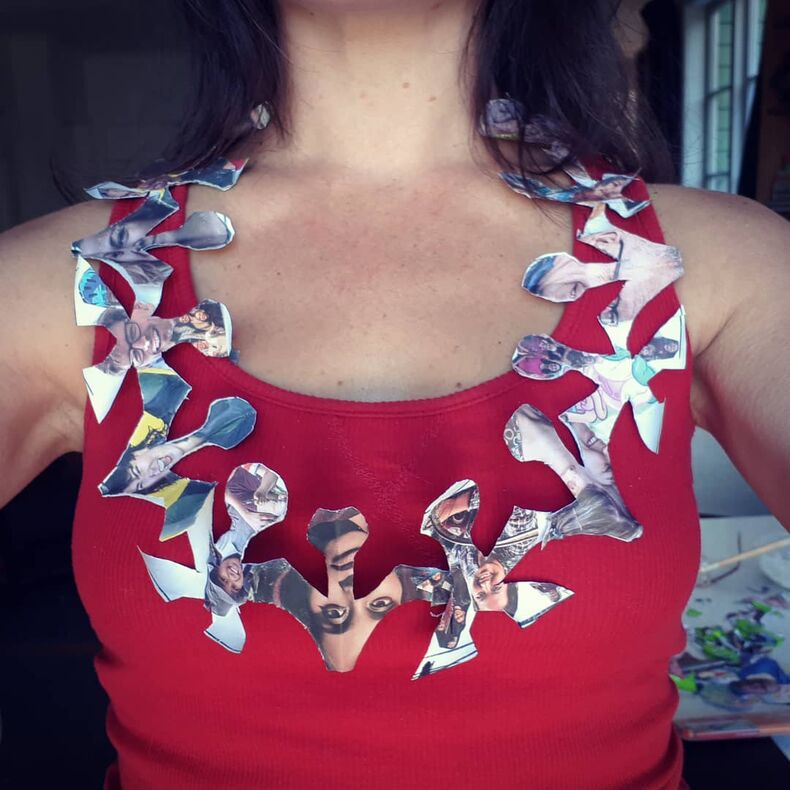
We are going to take our wee paper garland and make it big enough to be worn as a necklace ...
Equipment
Making your garland necklace
I estimate to fit over most heads, there needs to be an 18-20cm diameter circle cut out of the centre of my paper garland.
To keep the proportion similar to my test design, the outside diameter will be about 30cm.
This is bigger than an A4 sheet so I use the wrapping of the refill packet, it’s plastic coated on one side so a bit stronger than paper and a crazy green colour, this can be my inside.
I visually estimated these dimensions and found some pot lids about the right size to use as a stencil to mark out the donut shape.
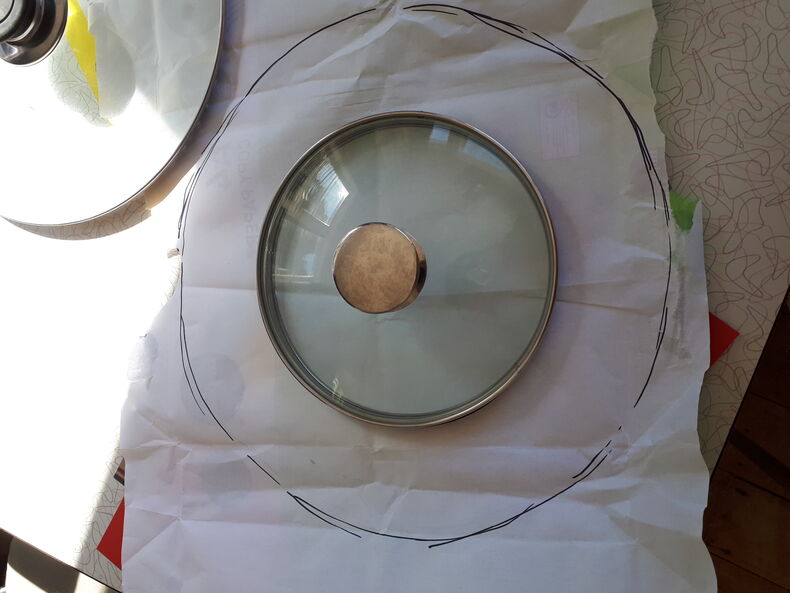
Finding the right sized circle
I was thinking that I wanted to incorporate some collage for the front side of my garland.
I have a ‘Generosity Journal’ which is nice paper and there’s heaps of images of friendly generous people from New Zealand in it, which is perfect for this project.
I cut all the nice faces out.
It will be easier to glue them on to my paper before I cut out the design so it's a good time to think about any colour/content/texture you might want on your garland at this stage.
I don’t have any glue so I look up how to make some with equal parts of flour and water (you don’t need much, maybe ¼ cup of each. Mix it up with a whisk or fork in a bowl/cup and add a good tablespoon of salt. This prevents bacterial growth.
Note on placement: I started with placing the bigger images, then layered it up with the smallest last.
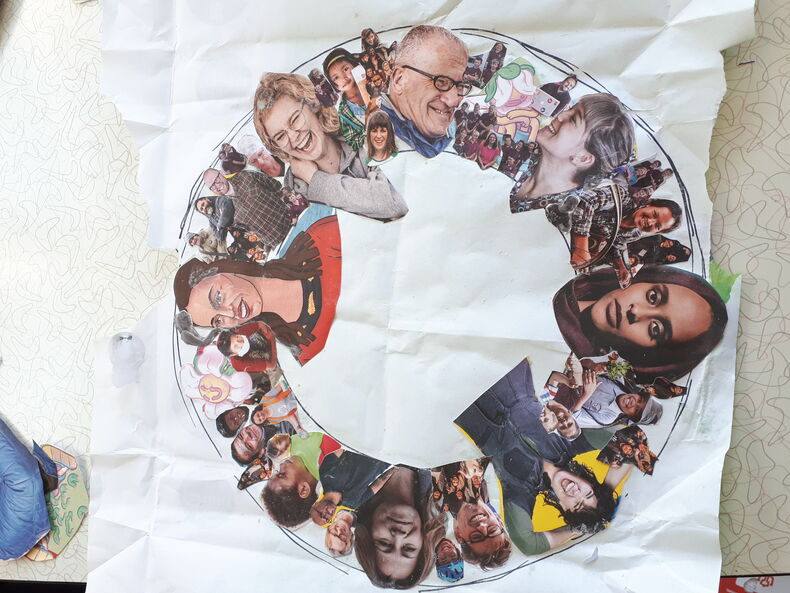
Finished collage
Once the collage was done and had dried, I folded it up, drew on my design, and cut it out.
NOTE: It’s more rigid with the layers of paper so takes a bit longer and is harder to get just right.
My glue isn’t too great but you can’t see that ...
After your initial excitement, take it off and walk away. Come back with fresh eyes to assess how it’s turned out.
My observation's:

Marking out where to cut