- Computer/laptop
- Printer
- Scissors
- Tape/bluetack
- Notebook for taking notes (duh)
1
Neighbourhood Watch: Lesson 1
1
Neighbourhood Watch: Lesson 1
2
Neighbourhood Watch: Lesson 2
3
Neighbourhood Watch: Lesson 3
4
Neighbourhood Watch: Lesson 4
5
Neighbourhood Watch: Lesson 5
6
Video Editing with Paper: Lesson 1
7
Video Editing with Paper: Lesson 2
8
People Garland: Lesson 1
9
People Garland: Lesson 2
10
People Garland: Lesson 3
It is time to review your photographs. This lesson will help you understand what you're enjoying about what you have documented so far, and how this can be extended.
Equipment
Guiding questions
Think about these questions as you work your way through the lesson:
Instructions
Upload your photos onto your laptop/computer (remember to save into a nicely labeled folder because file management is important, ok)
Now organise your images into thumbnails (images all the same size) and place them into a document
Print your images and cut them out
Stick your images onto a blank wall until all your images are laid out in front of you. Try to do this step intuitively. Present your images in an order that feels/looks right
Note of images you like. You can do this by making a mark on the photos or moving them to one side. Try to note what you like about them based on the photographic principles from lesson 1, the subject matter or overall style
Note: see the examples below for reference
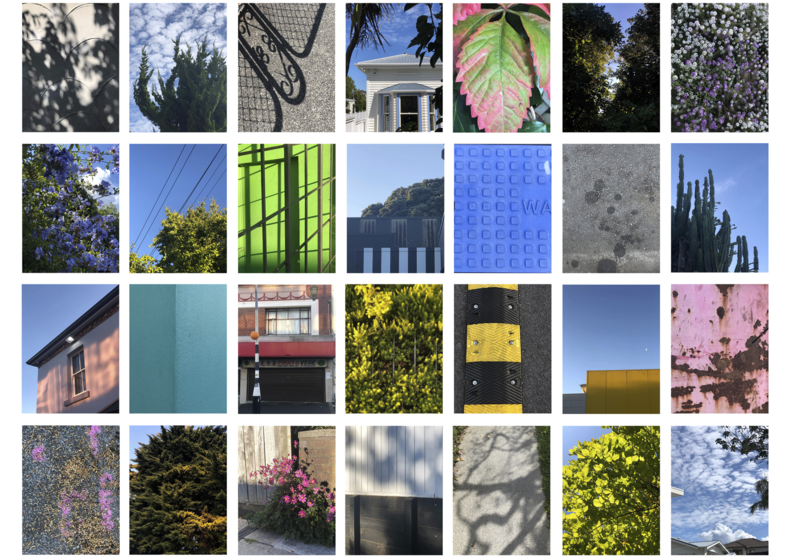
Thumbnail layout example
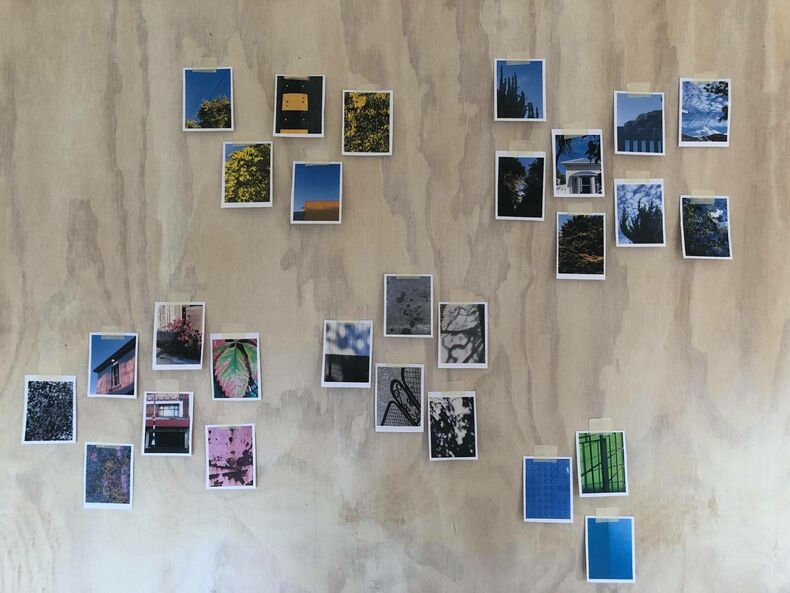
Thumbnails on wall
Lesson content
A large part of the photography and documentation processes is reviewing. This step will help you visually organise your thoughts. I like to print out all my images in a thumbnail format. This way I can see everything at the same time and size which helps me to view my work as a bigger overall picture, rather than just one image.
Sticking all your images onto a blank wall is an easy way to start grouping your images. Whether you are grouping based on colour, pattern, or subject. You will be able to easily identify what you like and what you might want to document further.
Take note of HOW you have placed your photographs on the wall:
Now, what photographs do you like and what do you dislike, and WHY:
You should now have a clear idea about what you like shooting, what photographic principles you like to engage with, and a certain style you want to pursue. It is also important at this point to think about what story your photos are telling or going to tell. Consider the mood/tone. Think about how you feel when you look at your photos.
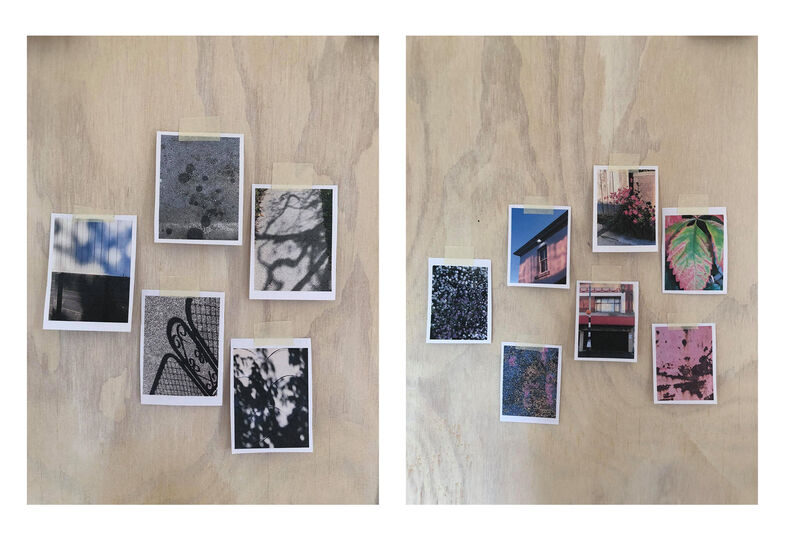
Close-up of thumbnails on wall
Resources