Art in Isolation

10 lessons

Introduction

The people garland is an accessible and engaging task which will suit a broad range of ages and skills. It uses materials and tools that most people will have at home and can be shared by putting on windows or sharing images on social media. 

Lesson menu

Project Outline

  1. Across the next three lessons you will:

    • Create a basic paper garland
    • Design your own symbols to personalise your garland
    • Create a paper garland to adorn your window
    • Develop your garland into a necklace
    • Develop your garland into a bracklet
    • Share your ups, downs and finished pieces with us and the world via social media @project__make
    Project Outline

    Three test garlands installed in space

Origins of the People Garland

  1. Finding it hard to focus on any one thing in the first week of NZ’s lockdown to stop the spread of Covid 19,  I decided to draw it out. The process helped me visualise my sense of disquiet and anxiety at this extraordinary time we find ourselves in. 

    Drawing is immediate and I can do it with anything on hand, without any preconceived idea of what it would look like. It’s a relaxing creative outlet for me.

    As a jeweller, the garland attracts me for its potential to be worn, plus it’s a visual metaphor for us to maintain connections and a sense of whanaungatanga.

    Origins of the People Garland

    Mia's initial drawings

Equipment

  • Paper
  • Scissors
  • Pen or pencil
  • Round lids or bowls to draw around
  • Device and internet connection to research symbols/relevant book(s)/handouts

Making a Garland

  1. 1

    Practise Garland


    • Find something round to use as a stencil, draw around it.
    • Cut out the circle.
    • Fold the circle in half.
    • Fold again into quarters.
    • Fold again into eighths.
    • Draw on your people. Cut around them.
    • Unfold your people garland.
    Practise Garland

    Getting a noice circle

  2. 2

    Designing your own symbols

    The people paper chains I’ve seen are usually male and female symbols like we see on toilet doors, pretty boring. This struck me as stereotypical and exclusive to anyone not identifying with these rigid classifications.

    I set out to find some more inclusive symbols for my people garland.

    Looking online I found a few symbols I liked, then chose three I thought would work together well, to represent male, female, and non binary. They were all based on alchemical symbols as well as associated with genders. These symbols were resonating with me, as a metalsmith.

    • Iron (male) 
    • Copper (female)
    • Iron sulphate (other/neutral)
    Designing your own symbols

    Symbol scribbles

  3. 3

    Test One

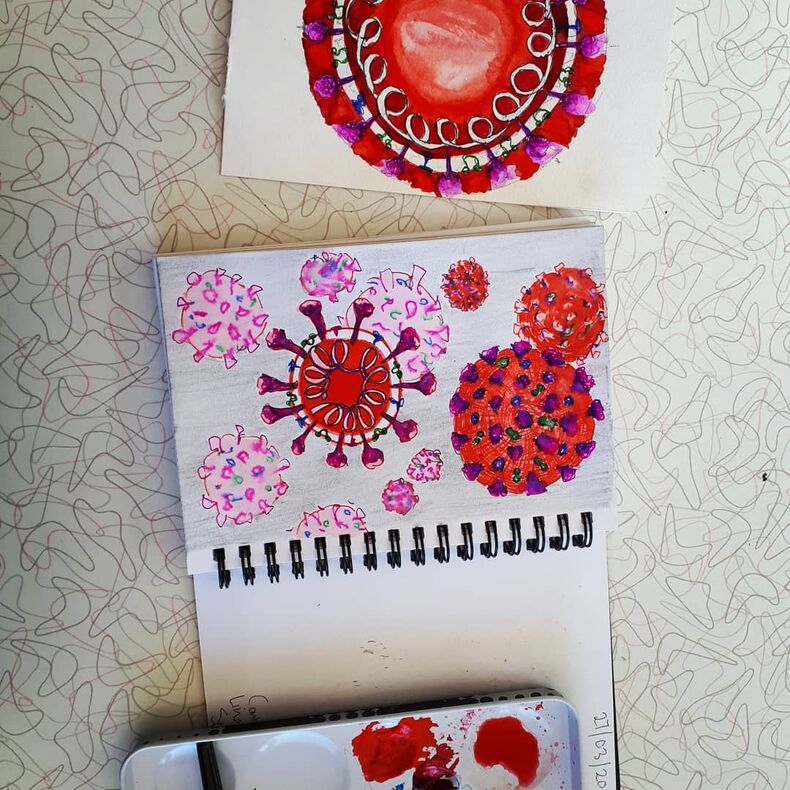
    I found some A4 scrap paper to make some test designs and see how the symbols might come together. This gives me options to test 4 designs quickly.

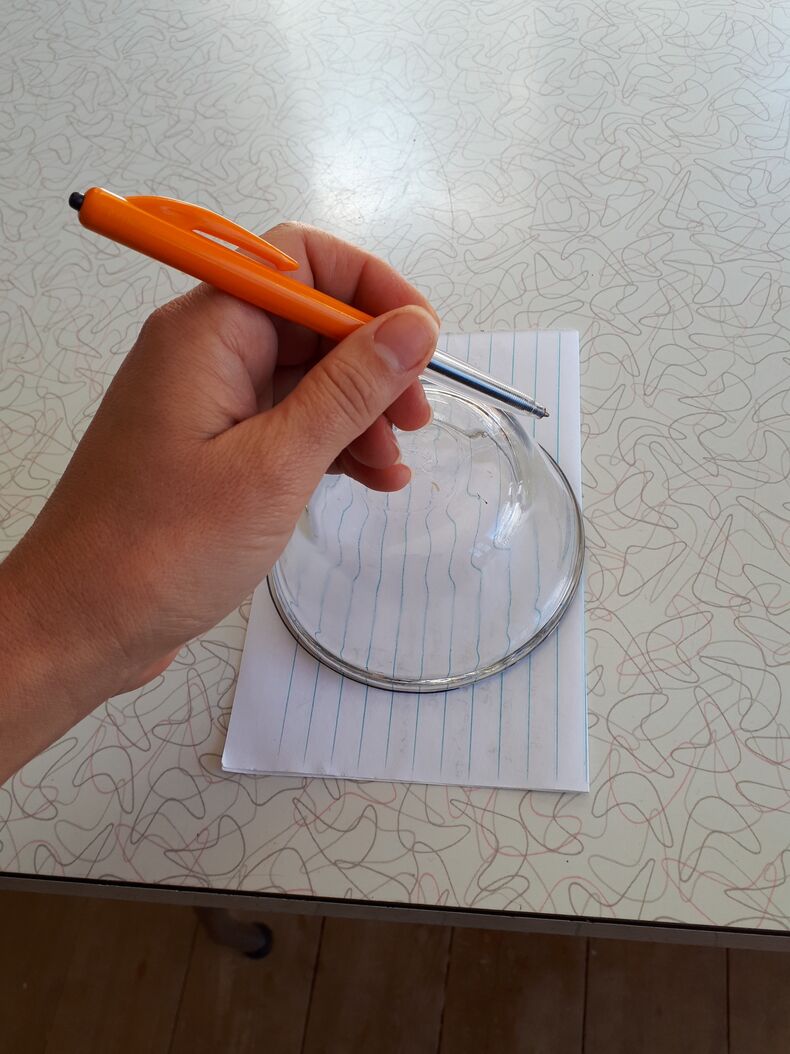
    • I cut the paper into 4 rectangles and found a round lid that just fit on each rectangle to use as a stencil
    • I then cut out each circle

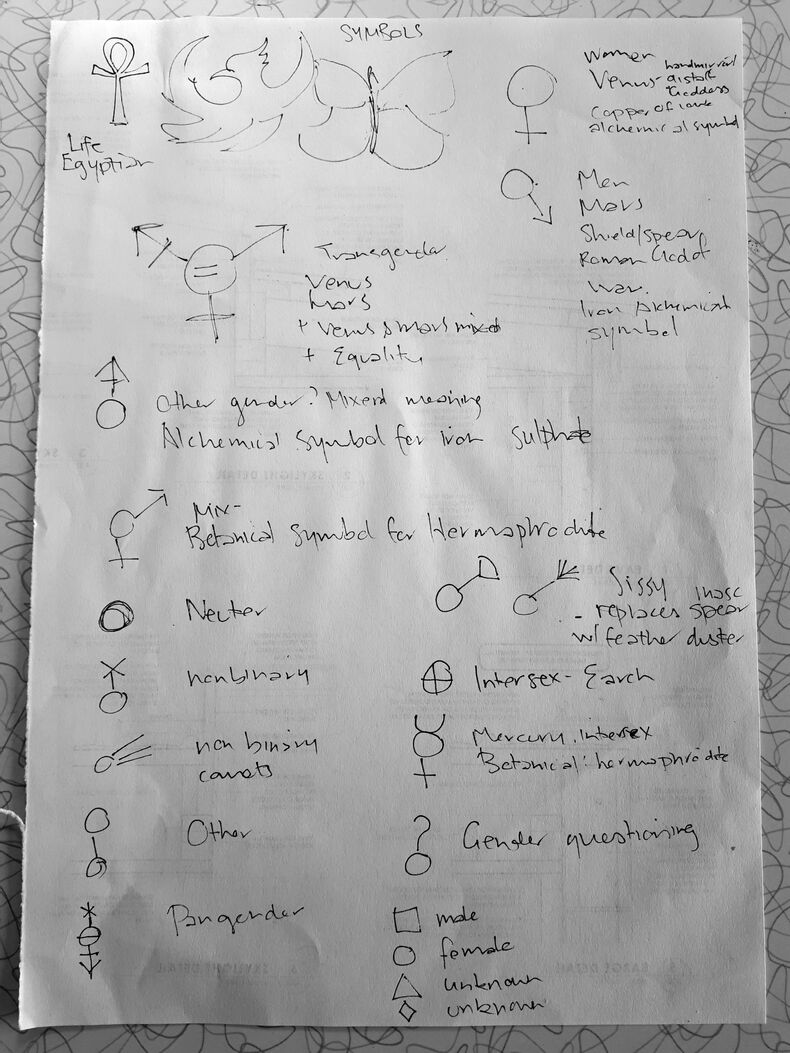
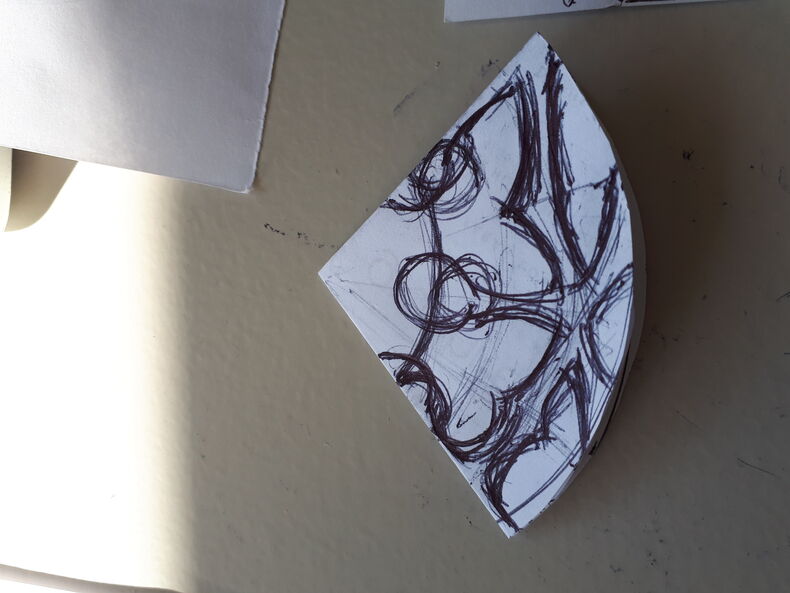
    Following the garland instructions I fold my paper circle twice to make quarters, then once more to make eighths.  I drew on three symbols. NOTE: you might have a different number, and each edge is half a symbol (it will fold out into a full symbol).

    • Cut out the outline of your symbols ... make sure they’re thick enough to be strong
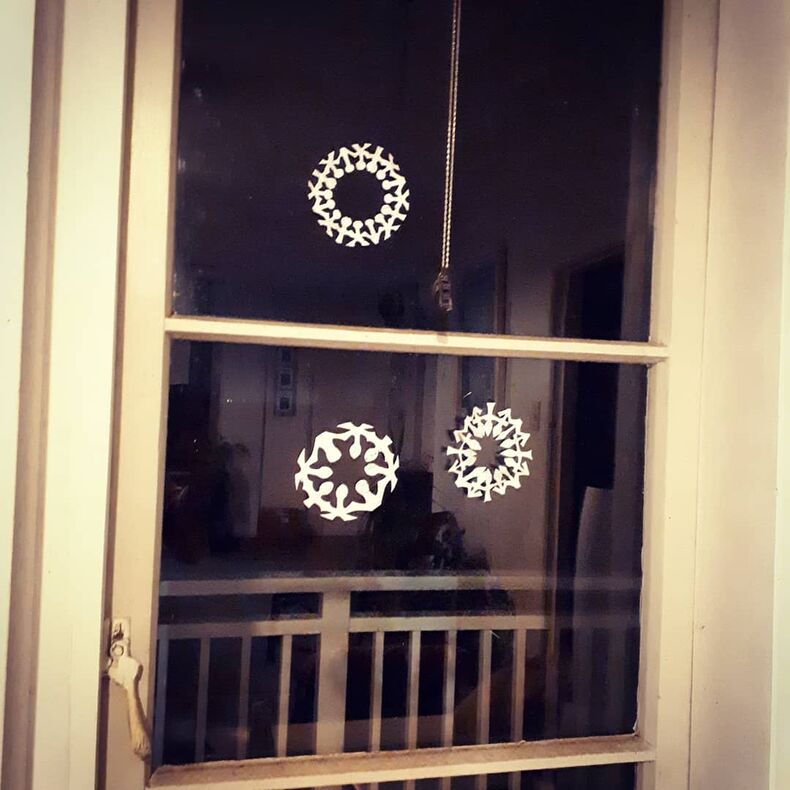
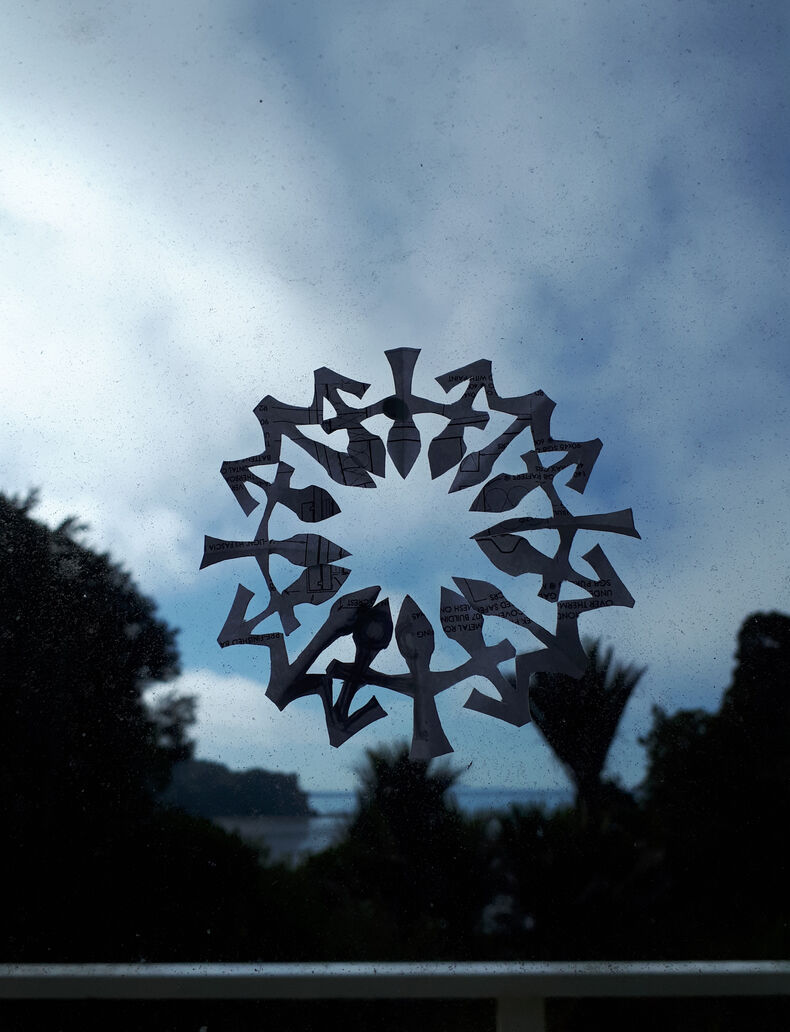
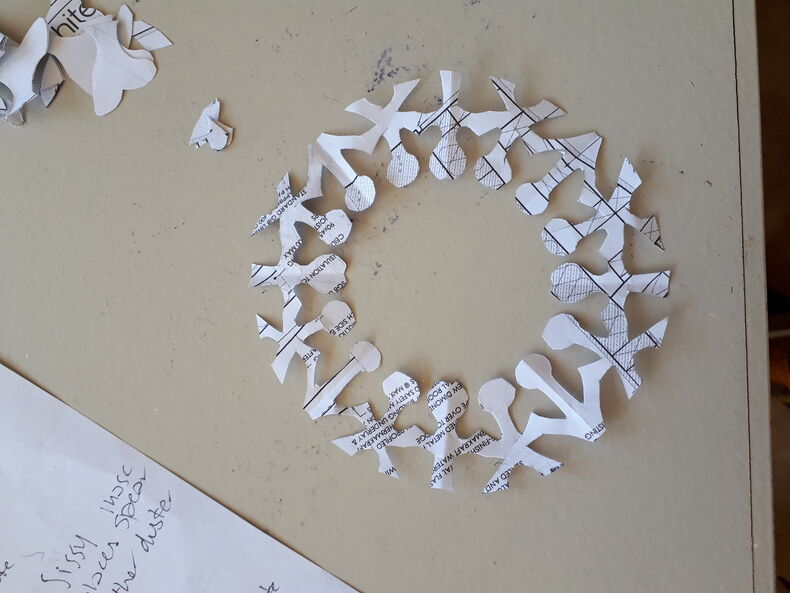
    • Open up your paper chain
    • Stick the people garland on the window to assess the shape

    My thoughts when in space:

    • I had spontaneously changed the shape of the heads into little flames when I cut them out
    • I didn’t like the result so will revert to circular heads in the next design 
    • It seems a bit crowded so I’m only going to fold the paper into quarters next time to simplify it
    • Next I wanted the people to join at their mid point all the way around, so it’s more uniform and has a better visual rhythm, plus it will be stronger
    Test One

    Test one in space

  4. 4

    Test Two

    I followed the changes above, folding the paper twice to make quarters then drawing my amended design so it’s more like an '+ x y'  all joining at their arms. I’m not too fussy about making it all perfect, I wanted my lines to be more fluid and slightly curved so it has some personality and life to it. 

    I cut it out and unfold the paper chain again and reviewed it in space.

    • They looked a bit alien with the ‘necks’ being too long in relation to their ‘body’
    • Decided I’ll trial making the body ⅔ and head/neck ⅓ next time
    • It looked too simplified with too few figures
    • I decided I would fold it into 8ths next time but make the design a bit more compact, to make it more graphic
    • I liked the connecting points this way so will keep this element
    Test Two

    Test two pre-cutting

  5. 5

    Test Three

    I liked the amount of detail, it seems balanced with positive and negative space. I can see the symbols within the design. The design is quite graphic and bold and makes me think of some Pacific combs I have admired in the Museum. I like this connection to our place as an island in the South Pacific.

    From here:

    With my symbols ready I am ready to make the full scale garland.

    Test Three

    Nailed it! Ready to move on

Next lesson

9

People Garland: Lesson 2