- Phone (preferably iPhone)
- Access to a printer
- Paper
- Scissors
- Paper clamp
1
Neighbourhood Watch: Lesson 1
1
Neighbourhood Watch: Lesson 1
2
Neighbourhood Watch: Lesson 2
3
Neighbourhood Watch: Lesson 3
4
Neighbourhood Watch: Lesson 4
5
Neighbourhood Watch: Lesson 5
6
Video Editing with Paper: Lesson 1
7
Video Editing with Paper: Lesson 2
8
People Garland: Lesson 1
9
People Garland: Lesson 2
10
People Garland: Lesson 3
Now its time to find what subjects around you are interesting and what message you are wanting to send. Don’t be afraid to experiment with your paper videos, you can swap around your frames or even draw on them.
Equipment
Guiding Questions
Think about this question as you work your way through the lesson:
Instructions
Go out for a second walk. This time with the story you want to tell in mind. In this example, the story has shots that pan up trees to the sky. Nature and trees are the focus of the story. The message is to “Keep looking up” as we are currently living in a time of uncertainty
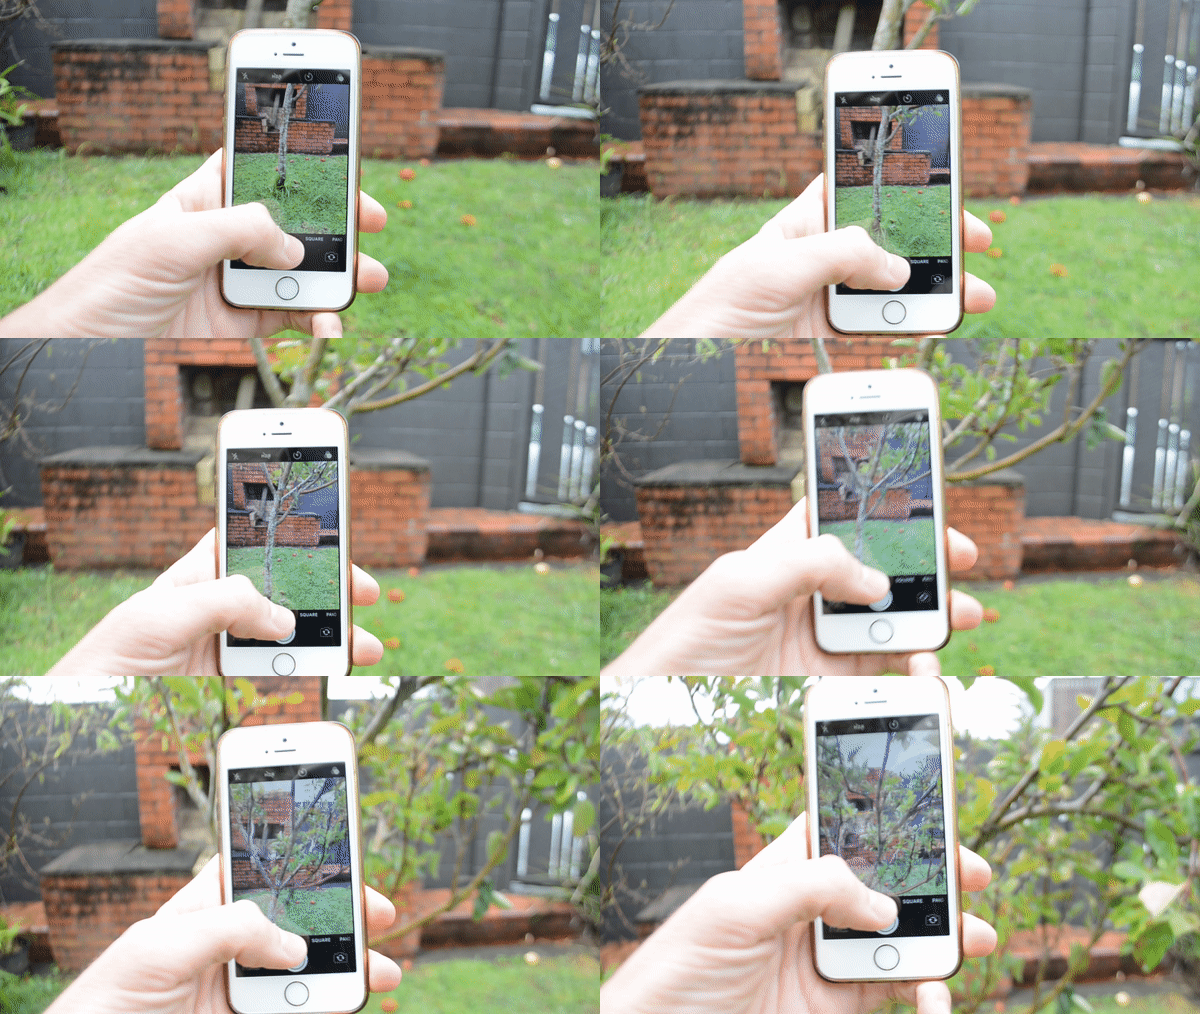
Photo bursts up a tree
Layout your images for printing, be sure to leave enough room under each image to allow for the flip book to fully open and reveal the entire image when flicking the pages
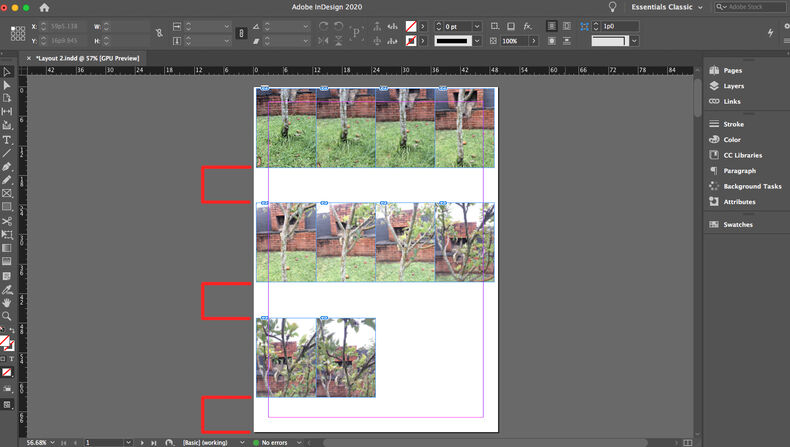
Example of flip book layout
Order your photo burst into their shots and organise what is the best order to convey your story, then use a paper clamp to create your flip book
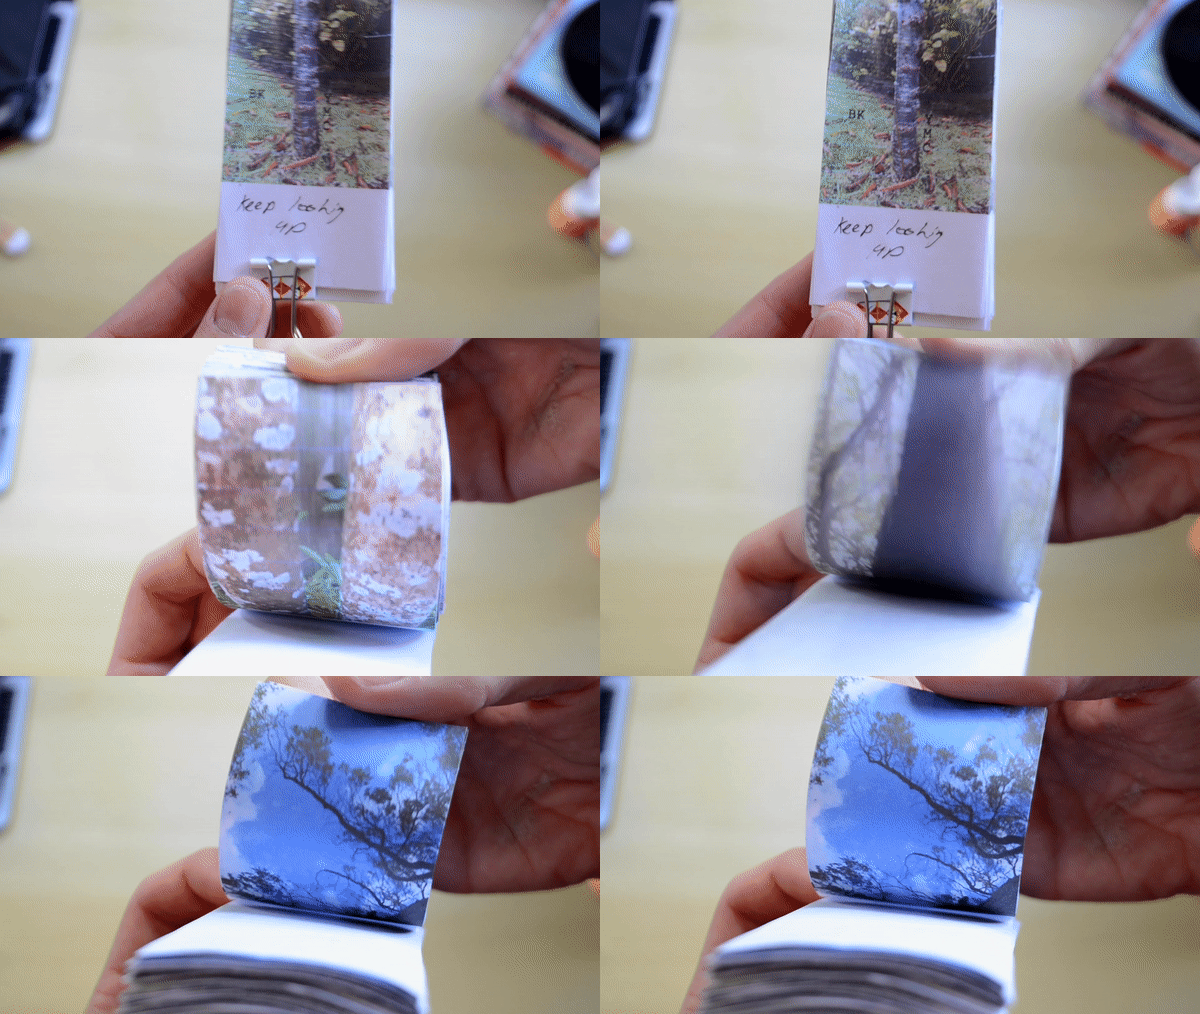
Ordering the flip book
Write a title for your paper video on the blank area below the image or within the frames of your video. You have now completed creating a video using paper
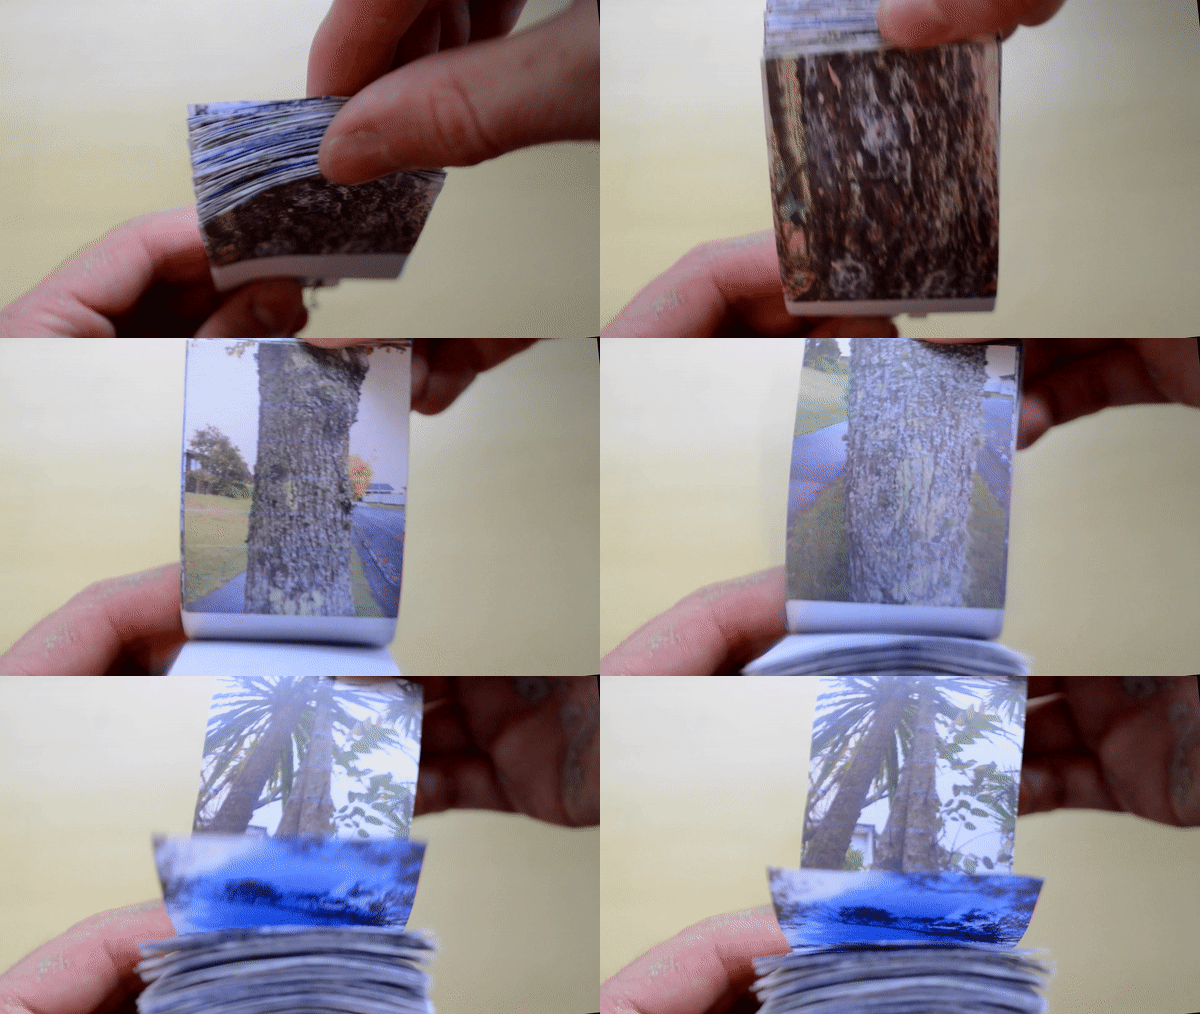
A finished flip book!
For further experimentation, shuffle around your paper frames and organize back into a flip book
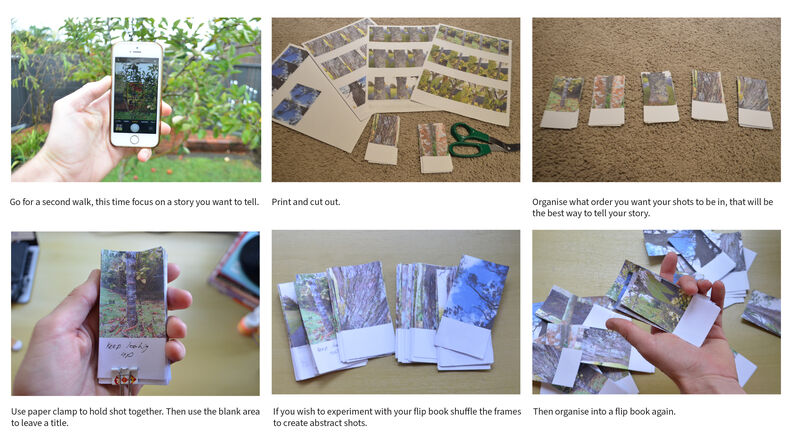
Image instructions of flip book construction