- Your gathered landscape imagery and objects
- Materials for creative play (e.g. pencil, pen, coloured pencil, crayons, pastels, paint, Indian ink, etc.)
- Blank wall or workspace
- Printer
- Bluetack
- Scissors
- Paper
1
Hunt and Gather
It’s now time to draw and have a play! Using your own imagery and resource material collected from the last lesson, you will apply a variety of different drawing/documentation techniques to expand your ideas and visual thinking.
Equipment
Guiding Questions
Think about these questions as you work your way through the lesson:
Lesson Content
After the hunt and gather you're hopefully feeling inspired and ready for this next stage. This lesson is your opportunity to get stuck in, go wild, and play around with as many different mediums and techniques as you can.
These mediums and techniques could include:
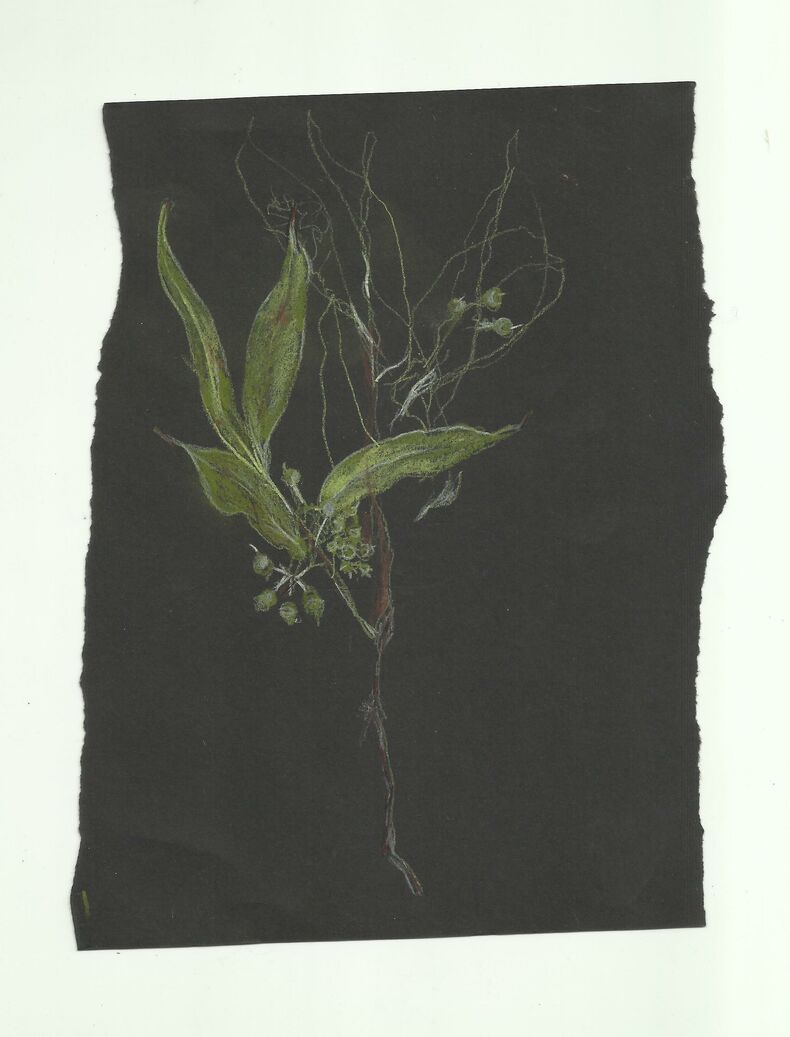
Cherie's process for this lesson explored an alternative to photography and played with form and movement. This was done through drawing with coloured pencil, graphite, charcoal, collage, and frottage. Here are the results:
Explore different mediums
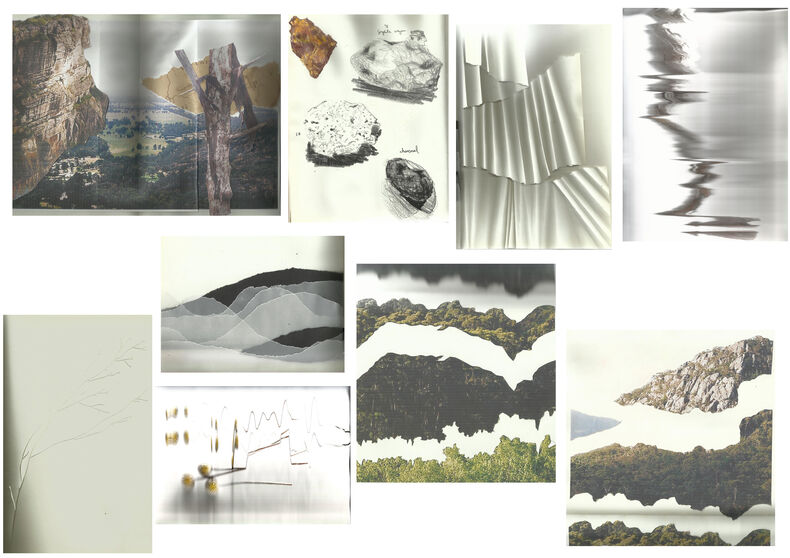
Cherie's creative play
Whether you feel more comfortable with a pen and paper or clicking away on your computer, this lesson is all about re-interpreting your landscapes and responding to your collected stimuli in experimental and interesting ways. As always with our projects and art and design as a whole, there is no right or wrong way to do this. Let yourself go a little wild, this will help your ideas expand and flourish.
Instructions
It is pretty important to be able to see everything in front of you at the same time for this stage. We suggest printing everything you have collected out and sticking it up onto a blank wall or spreading it out on a desk/workspace.
Now you can see all the cool stuff you collected and the notes you've made, let's cast our minds back to the last lesson. You should have chosen your most successful idea/landscape and a few words/ideas to accompany it. Now it's time to churn out some cool visual responses to these.
Collect the materials you wish to use for drawings/creative play (try to think about what materials make sense with the effect you are trying to make).
Roll up your sleeves because it's finally time to make some stuff! What is important to consider is, this stage is NOT about making polished artwork. It is about experimenting with materials, trying things you didn't plan, and deciding what is worth pursuing.
With your landscape in mind, experiment with things like:
Keep making until you have around 10 - 15 experiments. It seems like a lot but don't worry, some come to be quicker than others.