- Your gathered stimuli
- Space to collate stimuli (wall, display boards, software)
- Bluetack if using a wall, pins if using a pinboard
- Other - as relevant to your selected media/techniques
1
Introduction
This is where is gets fun …
Equipment
Lesson Content
After casting the net wide to hunt and gather as much stimuli as you can, you now get to do something with it. This is my favourite part - possibly because I love to collect things - it’s where you get everything together and begin to order it.
There are a few ways to do this - if you’re a digital human you may be more comfortable to do this digitally - or if you’re like me you’ll want to physically engage with the work and create a brainstorm on a wall space. Either way is fine, the most important thing is that you are ‘stepping back’ and start looking at your stimuli as a collective body or family rather than a series of individual images.
You are looking for the relationships and stories that occur between the images when viewed as a ‘collection’.
There is no right way of doing this, in fact, the less you use your rational thinking the better. You need to let your visual, emotional and lateral thinking do the heavy lifting here.
Instructions
Get all that you have collected out, and if you can lay it all out in front of you. If you are working physically we suggest a large table or a clean floor, preferably near the walls that you are about to stick your images onto.
Having everything in front of you helps because you can see it in one go, meaning you remove some of the cognitive load ‘remembering’ what you have collected and you can use that brain power on making connections instead.
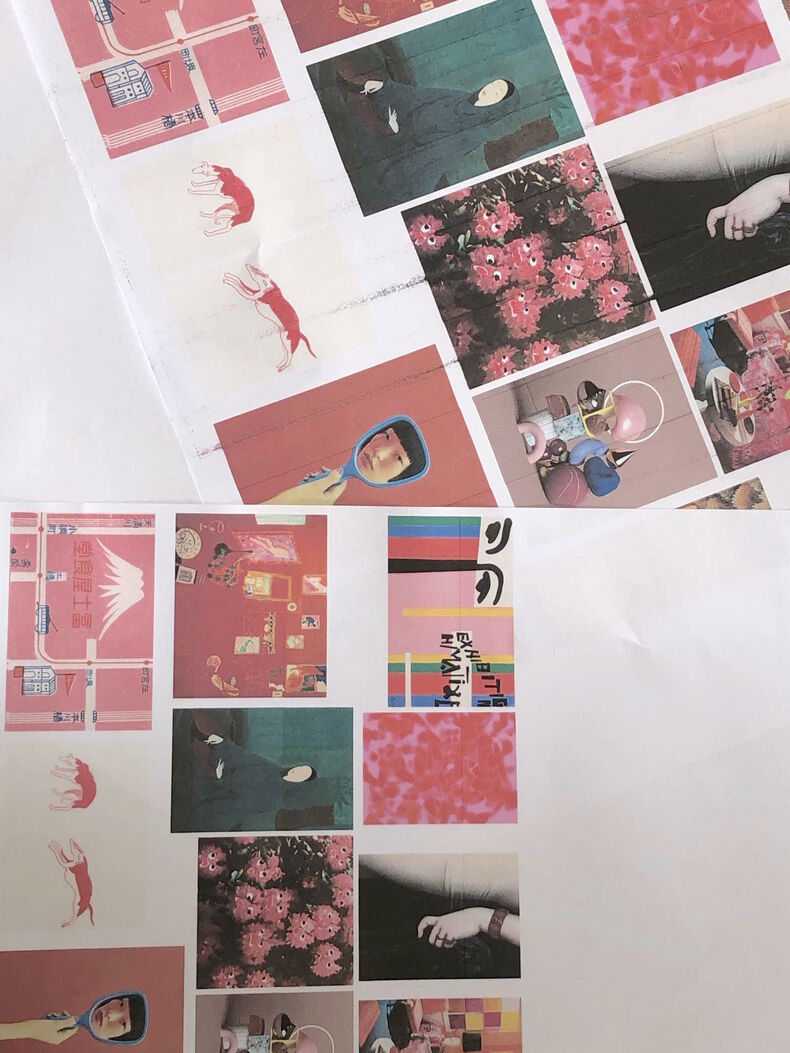
Some of Anjuli's collected stimuli
So ... what do your images tell you? What connections can you see? Remember what drew you to the images in the first place. Was it technique? Colour? Pattern?
Look at your own works that you have gathered - how do they relate to everything else?
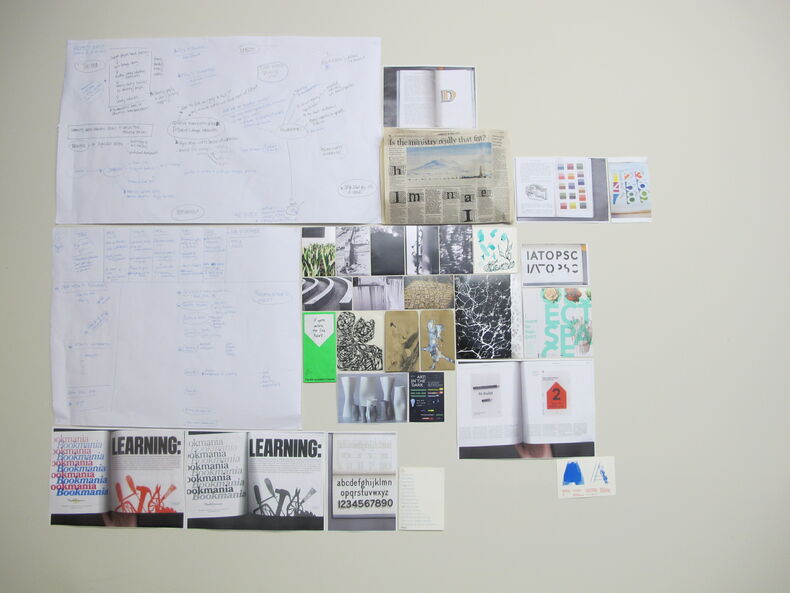
The start of the Project Make 'wall of doom'
Begin to order the images so that they are next to other images they relate to. It’s hard to explain this step because there is no correct way of doing this.
Basically, you are moving everything around until it ‘feels’ right to you. You are looking for unexpected connections and relationships between images - to create something that is interesting to you.
Sometimes doing this process directly onto the wall or into a digital document helps the ordering process. I tend to start with whatever images I am most interested in.
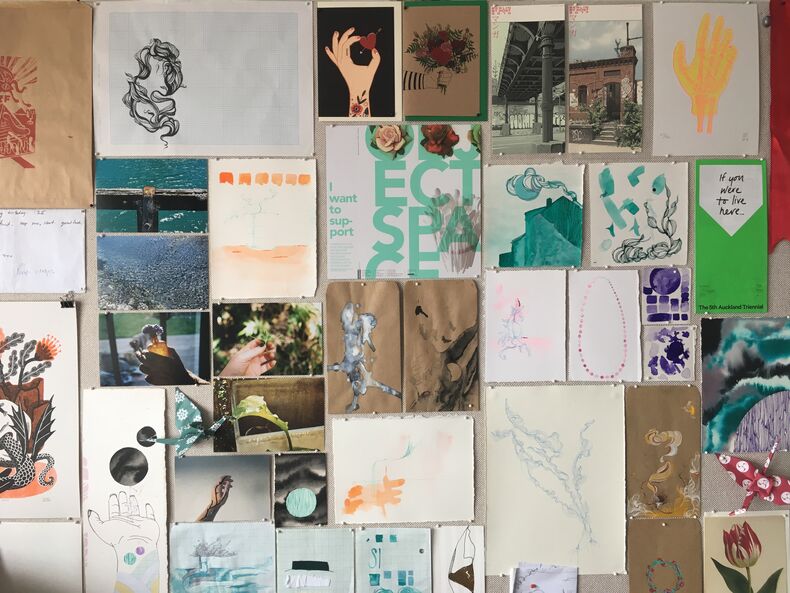
Part of Demelza's wall for this project
This is either on a wall or in digital space. Some people even use folding boards (display boards) if they want to work physically but don’t have the wall space. Some people do this process slowly and others work quickly and instinctively. The more you work like this and the more developed your visual language becomes the faster you get.
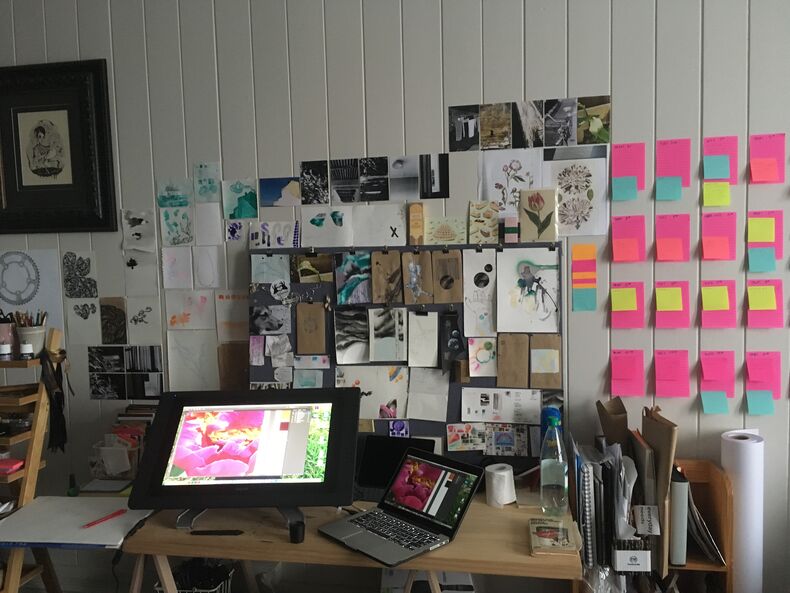
Sometimes we do it instinctively in our work spaces
Step back and look at your stimuli as a ‘whole’. It’s best to literally leave the room or close your laptop lid and go and do something like get a glass of water before coming back to do this. The process of leaving and coming back helps to ‘refresh’ your eyes and mind.
Now … what do you see? It’s helpful to have a notebook with you to scribble down what you notice and where you might go next.
You’re not looking for an ‘idea’ - you are establishing an overall concept (which may at this stage be an element or principle of design) and deciding which hand made techniques to experiment with.
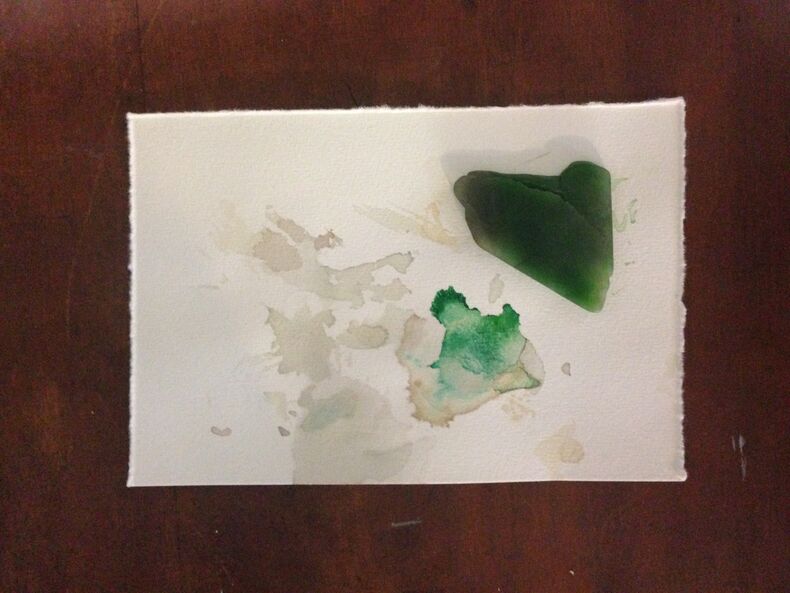
Observing colour, shape and opacity
This phase involves getting your hands dirty - for a good time not a long time. So you should pick a few media (like markers) and/or techniques (like screen printing) that you want to use. Access to the materials may help make this decision for you.
This is not about creating beautiful artwork - it’s about having a go and deciding if it’s worth pursuing.
It’s important to have a play before you commit to an idea that you may not be able to make. Locate some books/tutorials to help you get the basics of the media/techniques you are about to experiment with. Your experiments should help you learn the limits of what you’re using - don’t get caught up in the imagery.
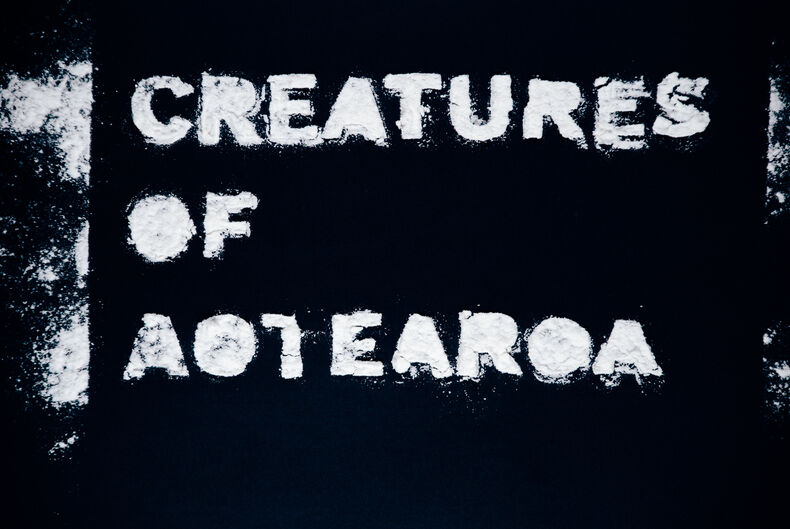
Nathan decides to build a typeface out of flour - yip - literal baker's flour
Experiment with things like:
Gouache with Mary Sanche
Goucache with Myriam Tillson
Gouache with Sandra Ruberto
Japanese Marbling with Apartment Therapy
Copic Marker Rendering with Scott Robertson
Lino Cutting with The Virtual Instructor