Digital Handmade Print Project

10 lessons

Ideation

Now it's time to translate experiments and research into ideas and layouts.

Lesson menu

Introduction

Take a breath and don’t just look; observe. The difference between a maker and a civilian is observation. Unless visually impaired everyone has the ability to ‘see’ what’s in front of them.

The major difference is that people who design and make things are tuned to notice things and make connections where other people may not.

This stage is about taking the time to stop, breathe and observe. 

Stand back and look at all of your tests, doodles and collected stimuli. What do you notice? Are there any shapes, colours or textures that you are repeating? If so, this is likely to be something you need to pursue. 

Look for potential narratives within everything you have made and collected. Look for unexpected relationships and connections. Look for new perspectives. Notice patterns and things you have repeated. Are all of your experiments washy and soft? Have you been repeating line in an interesting way? Are you happy with what you have collected and made - do you need to keep working?

Equipment

  • All of your experiments (physical if going on the wall, digital if that is how you are working)
  • Zeta pad, 2H pencil and fine liner or tablet (if working digitally)

Guiding questions

Think about these questions as you work your way through the lesson:

  • How do your experiments relate to all of your stimuli? Similarities? Differences?
  • Is there a direction/narrative starting to emerge from your experiments?
  • Which experiments could you crop?
  • Which experiments could you combine to make something ‘new’?
  • Do you have enough information to begin working on layouts?
  • Do you need to gather/make more before you can start working on layouts?

Instructions

  1. 1

    Review your stimuli and experiments to clarify purpose

    Add your experiments to your wall and stand back. What do you notice? What went wrong? What went right?

    What is worth pursuing and exploring? What can you get rid of?

    Think about all your stimuli (which now includes your experiments) as raw ingredients ... at this stage there are a few different directions you could go in. It’s about narrowing down your purpose or ‘intent’ as a designer.

    What are the major elements, principles, styles or concepts that are driving your work? Are you interested in making cakes or texan BBQ?

    Your ingredients should tell you this.

    Review your stimuli and experiments to clarify purpose

    Exploration wall

  2. 2

    Guiding statement

    There are a few ways to approach this, it depends on what motivates you as a maker. It could be materials and media (a certain material/s), elements and principles of design (line and opacity), style and movements (Bauhaus and Arts and Crafts), or concept (identity, belonging, beauty, the human condition) or a combination of any/all of the above.

    The most important thing is to take stock (notice and record) what it is that is motivating you; your intent. This is the point when you decide you are interested in baking, specifically cakes, as opposed to something like baking bread or making sausages.

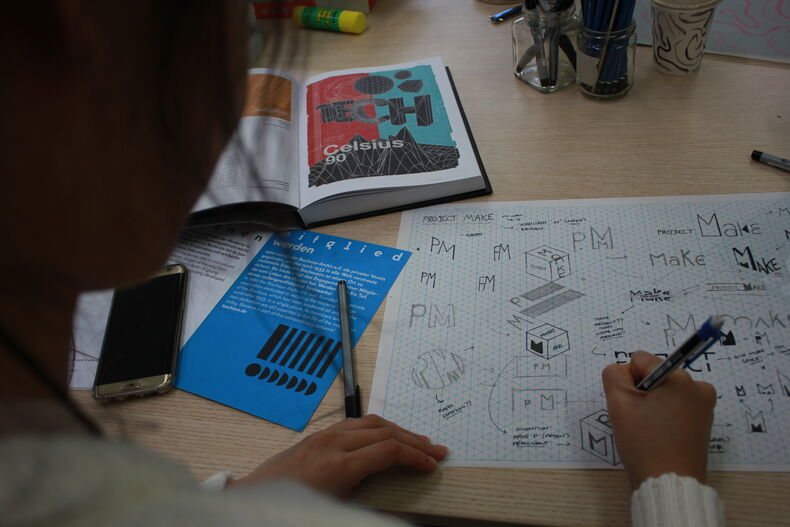
    There is no special format for writing a guiding statement - no right or wrong way of approaching it. It’s the act of clarifying your intention using words that helps. It can feel weird and a bit embarrassing to write a guiding statement, don’t let that stop you. At this stage keep it clear and short. Think of it like a note to yourself in case you get lost along the way - which often happens.

    ‘I am interested in x because y. I want to explore x through y. My intended audience is x who I’m hoping to connect with through y. The modes and media I will be using are x/y because z.’

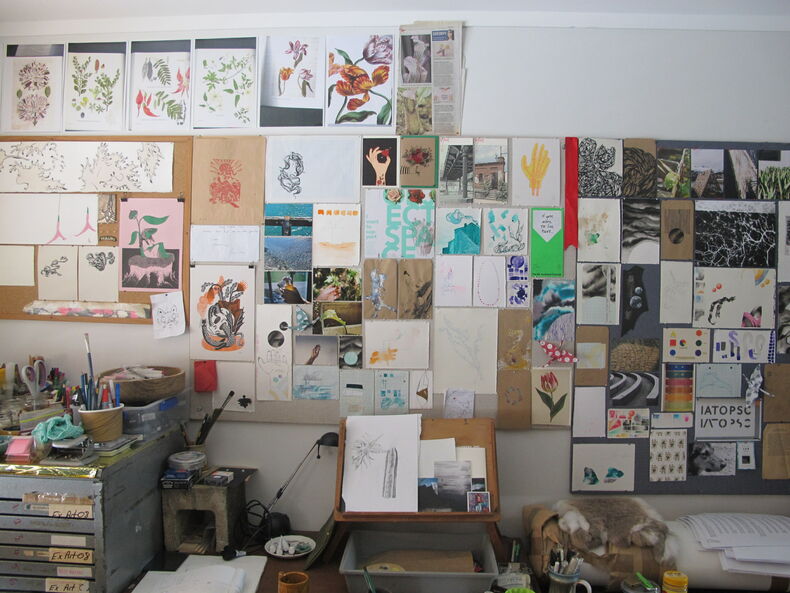
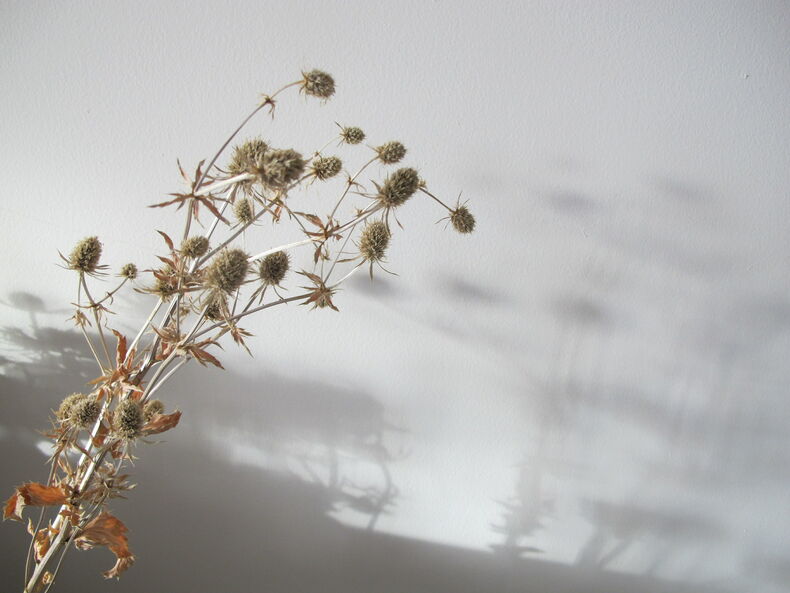
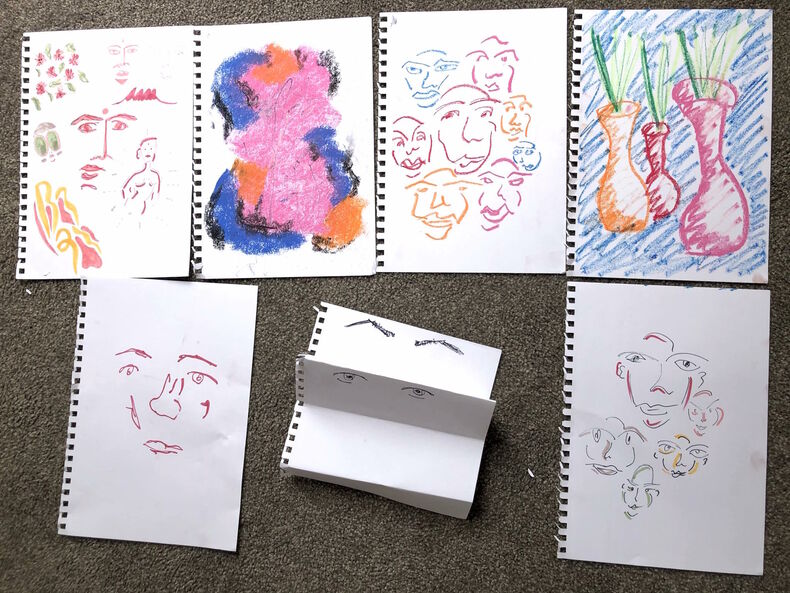
    ‘I am interested in colour, texture through layering, botanical illustration and the nature of line. My attraction to these stimuli comes from my background as a printmaker (imperfection and edition), illustrator (line) and my love of flora. I want to explore the idea of line as a living thing that, like anything affected by the human hand is both controlled and prone to outbursts of defiance. My intended audience are people who connect with natural imagery that is not totally representational. I’m hoping to connect to them through my use of texture, opacity, colour and layering. I will be using inks that I may make the pigments for, a variety of printmaking techniques for texture and vector illustration derived from hand drawn elements and unconventional backgrounds. All layers will be imported as separate layers and then working together in Photoshop to create a digital print. I want to keep the soul of the handmade and use the slick, clean lines of digital illustration.’ 

    Guiding statement

    Demelza is slightly obsessed with plants and light

  3. 3

    Ideate - thumbnails/rapid viz

    Let’s get some tangible ideas out. These are FAST and ROUGH and deal with the ‘bigger’ aspects such as placement, scale and overall composition. Thumbnails are the fastest and easiest way to do this. They are basically quick like sketches that look like boxes inside boxes with lots of labels. They are meant to make sense to you, they are not pretty, they are quick! 

    You are figuring out:

    • What to include (element or component such as; type, drawing, pattern etc.)
    • How big it should be (scale)
    • Where on the ‘canvas’ it should go (position or placement)
    • Orientation of the component/s (vertical, horizontal, type on a path etc.)

    Push past the ‘expected outcomes’ by trying to generate at least 20 - push yourself to add/remove things you wouldn’t have. Play with layout and scale.

    Ideate - thumbnails/rapid viz

    Thumbnails by Kathy Do

  4. 4

    Select something to test

    So - what have you got? More importantly, when you look at all of your thumbnails, what do you want to build? Sometimes, if we aren’t feeling confident nothing will jump out at you. You have two choices - keep sketching until you find something to start from, or, pick something that you hate the least ;) and get on with it!

    The ability to move forward, even if you’re feeling uncertain, can be an important part of the process. It’s important to remember that making is a process of discovery, you can’t move on if you aren’t making.

    So - pick an idea, or perhaps parts of several ideas and plan a mini test. You will be testing and refining the construction processes and techniques along with your ideas for imagery and colour. Think of this as a small, quick test run.

    Select something to test

    Some of Anjuli's early ideation

Tips & tricks

  • Photograph each stage of the process - including how your wall changes over time. The images can come in handy for other projects
  • Browse the suggested readings - great visual exemplars
  • Don’t over think the guiding statement - keep it simple. It should be clear and to the point - not waffly
  • Make your test components SMALL (A5 or smaller) - it’s about troubleshooting

Next lesson

6

Testing