Day 1: Hunting and Gathering
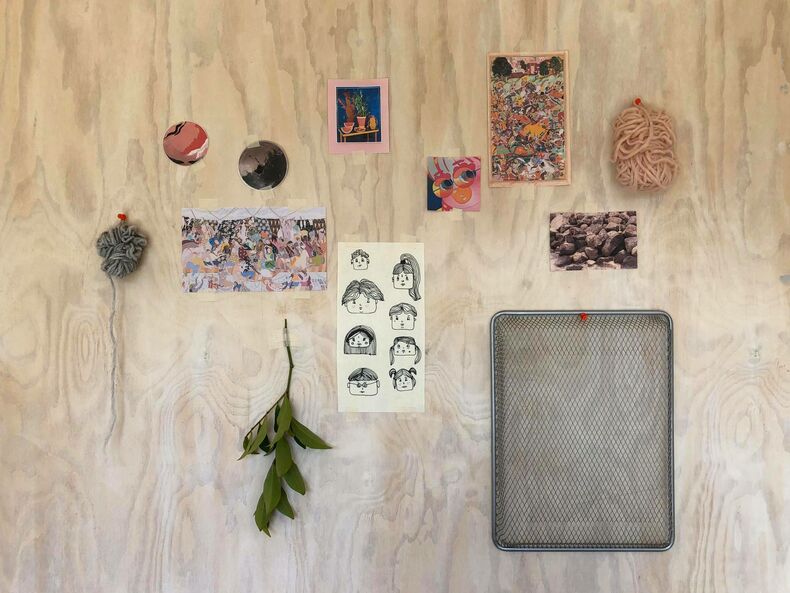
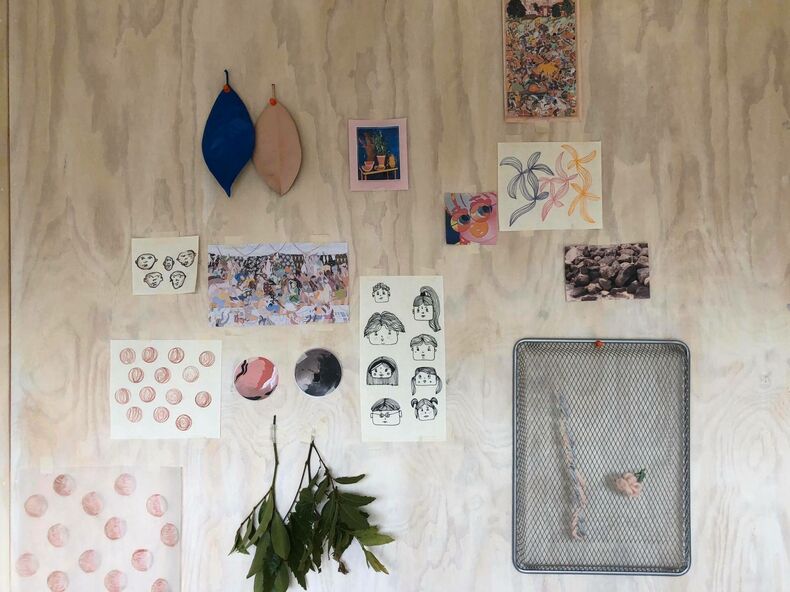
Day 1 of making the Digital Handmade Project I got straight into hunting and gathering. Collecting a whole lot of visual stimuli that I have been drawn to lately, as well as my own previous work that I want to revisit or develop. When looking at the work I had already made next to the imagery and textures that I collected, I noticed a few key similarities:
-
Colour:
At the moment I am super into these 6 colours paired together (pastel pink, bright red, electric blue, orangey orange, earthy green, and a tiny dash or golden-yellow). Most of what I collected was one or all of these colours combined. This told me that colour is going to be really important in whatever I make.
-
Still life:
I really like stuff, especially when stuff is placed on display in a pretty way. So, naturally, I love still lives. The visuals of vases, flowers, fruit and other inanimate objects carefully placed within a frame are just so attractive to my eyes.
-
Mess:
Sketchy, blurred and layered paint, paper and fabric were things I collected a lot of. This made realise that I enjoy mixing textures and surfaces with a little bit of 'mess'.
Day 2: Creative Play
The next step was 'Creative Play'. I did some drawing, painting, and embroidery in response to everything I gathered. I made sure to play around using the colours I had identified. Most of these tests referenced texture, mess, and pattern. This step was really important in getting my ideas flowing and helping me pinpoint what I actually like to create.
Day 3: Ideation
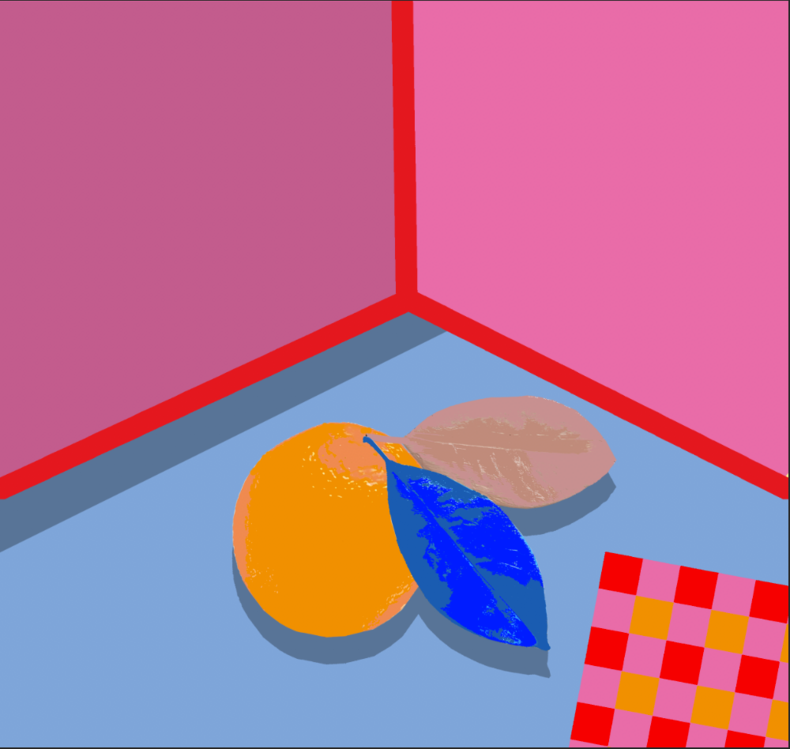
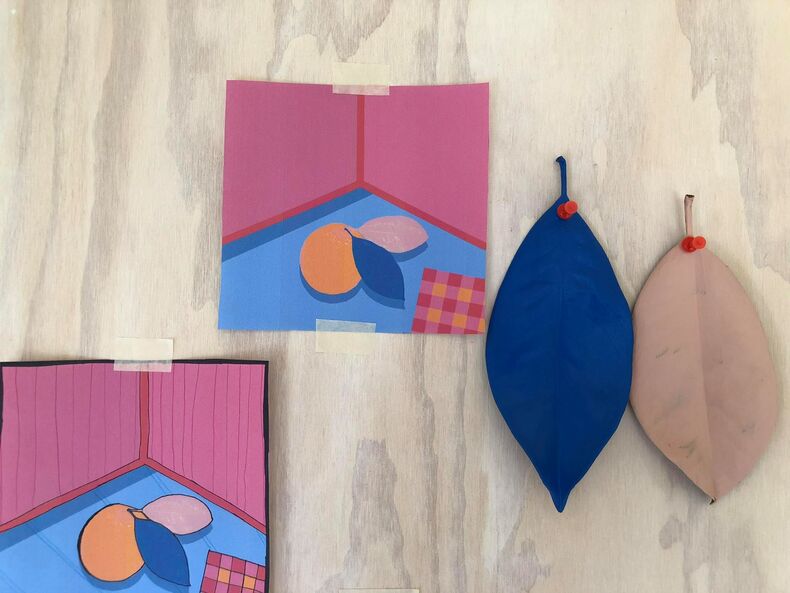
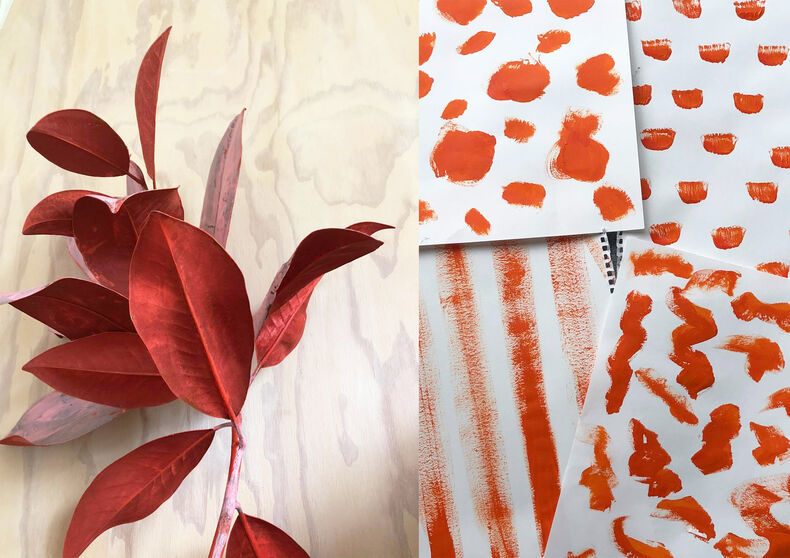
The most successful product of my creative play was the painted leaves. So now comes Ideation. In one of my creative play tests, I painted two leaves I had found outside. Keeping within the colours I had selected I painted one electric blue and the other pastel pink. This test triggered an idea that I decided to pursue:
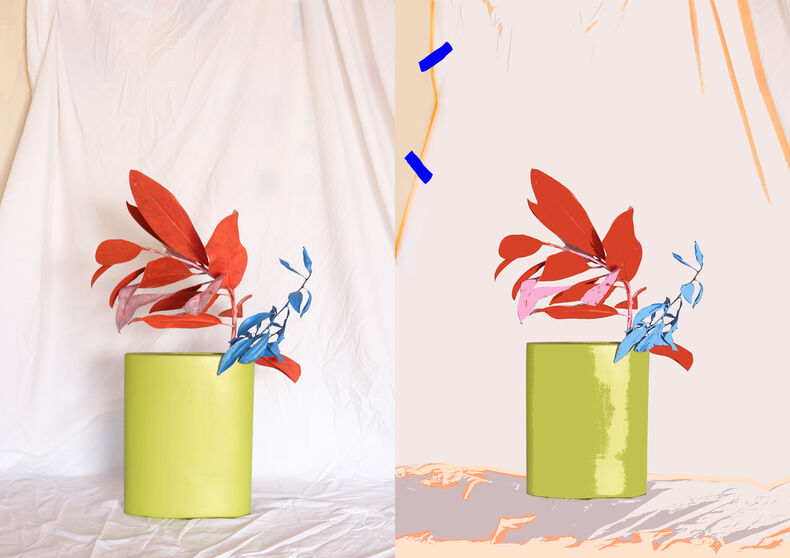
- First, I photographed the painted leaves, to bring them into the digital world. The aim was to make a quick still life that looked as graphic as possible but using natural elements that had been initially manipulated by hand.
- I then filled in the blanks and ‘painted’ with photoshop.
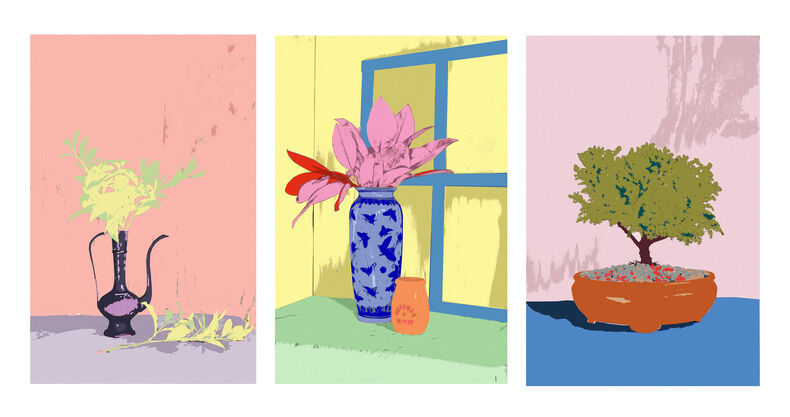
The product was a bright and graphic still life of an orange. With nods to the texture on the leaves and pattern on the tea towel.
I then printed my orange still life out and looked at it next to my other tests. I decided that this idea was totally worth pursuing.
Day 4: Testing
Next came testing. This was when I asked myself some questions.
- Is this idea actually going to work?
- What components do I need for this idea to work the best it can?
Assets Made:
- Painted branches ( I wanted them slightly messy so it was obvious they were hand-painted)
- Some weird painty-patterned- textured backdrops (might use if they look good).
Day 5: Testing #2
Now was part 2 of the testing process. This is the first test where I digitised my assets to check how my idea would translate into a digital space.
Realisations:
- I concluded that there is not much point in painting the branches' IRL because photoshop does such a good job painting.
- Backdrops I painted looked weird-flagging that idea.
- I actually liked the idea and was excited to make more!
Day 6: Constructing Assets
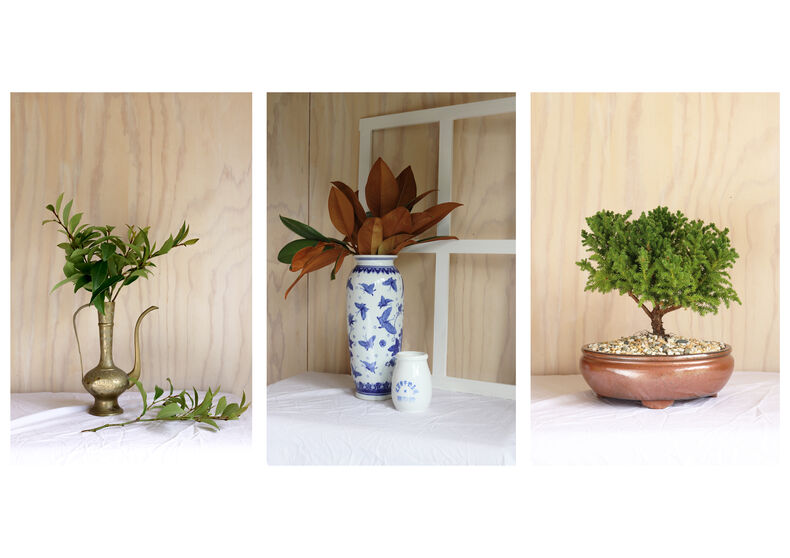
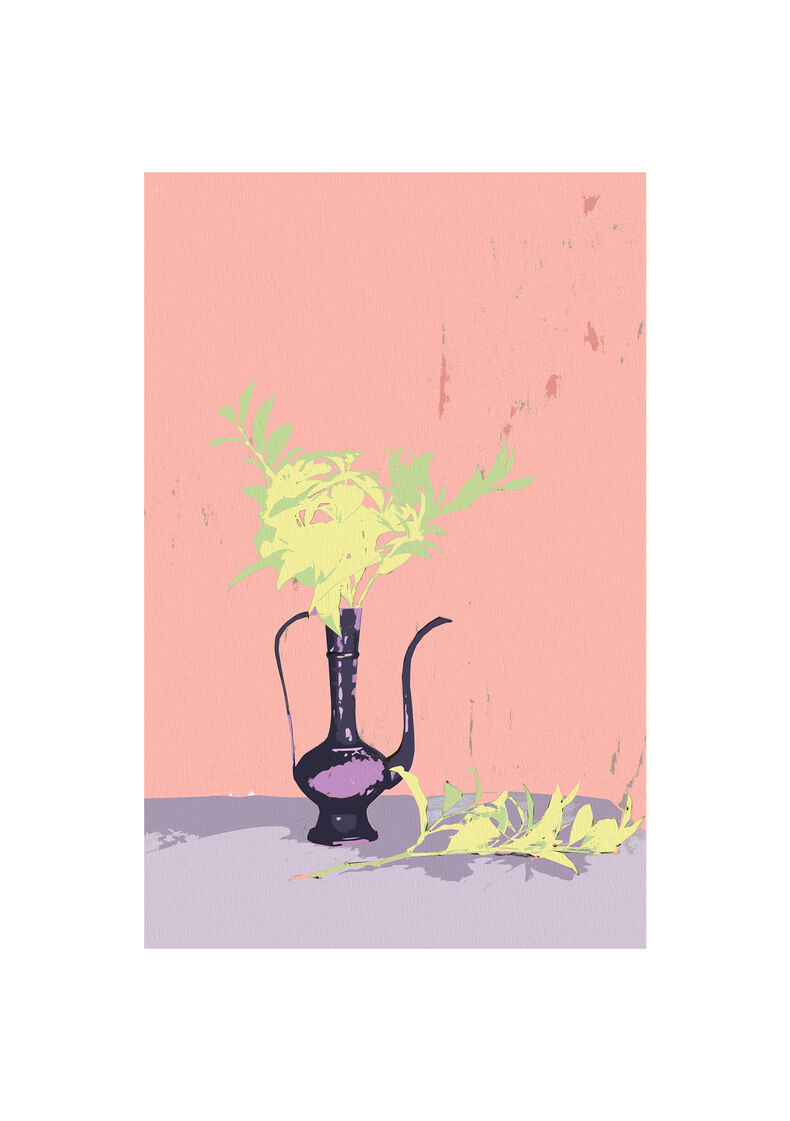
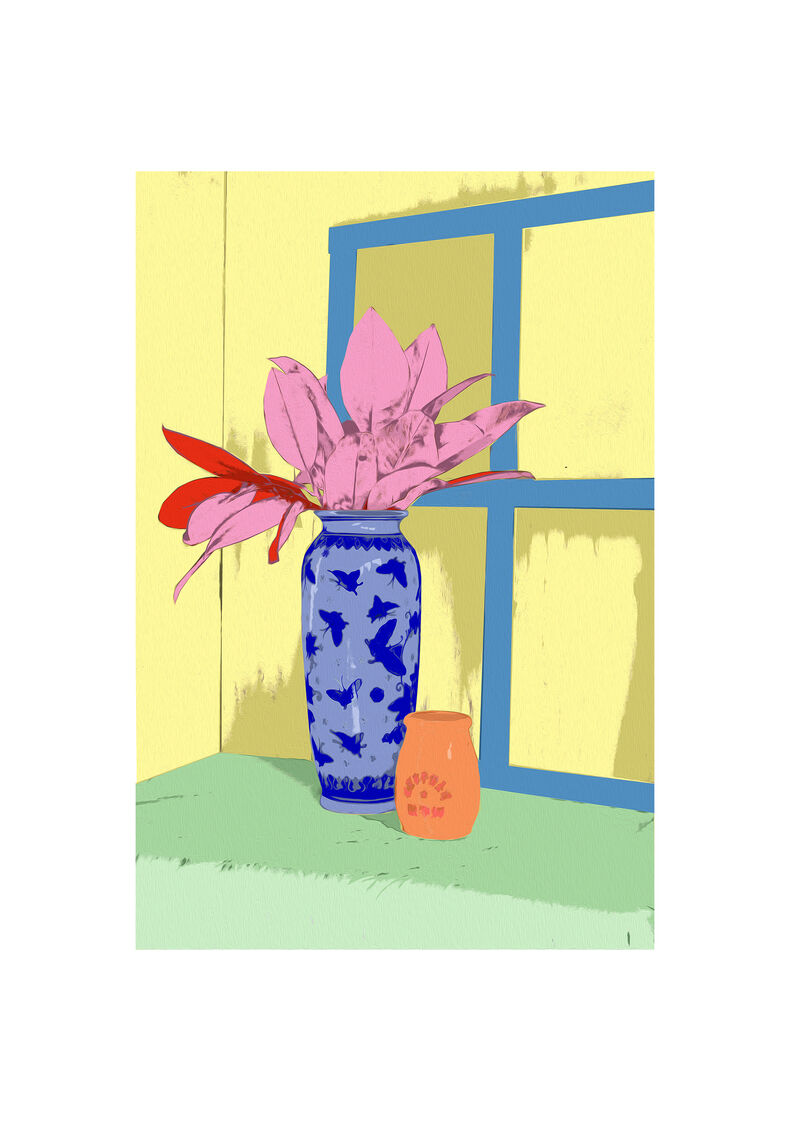
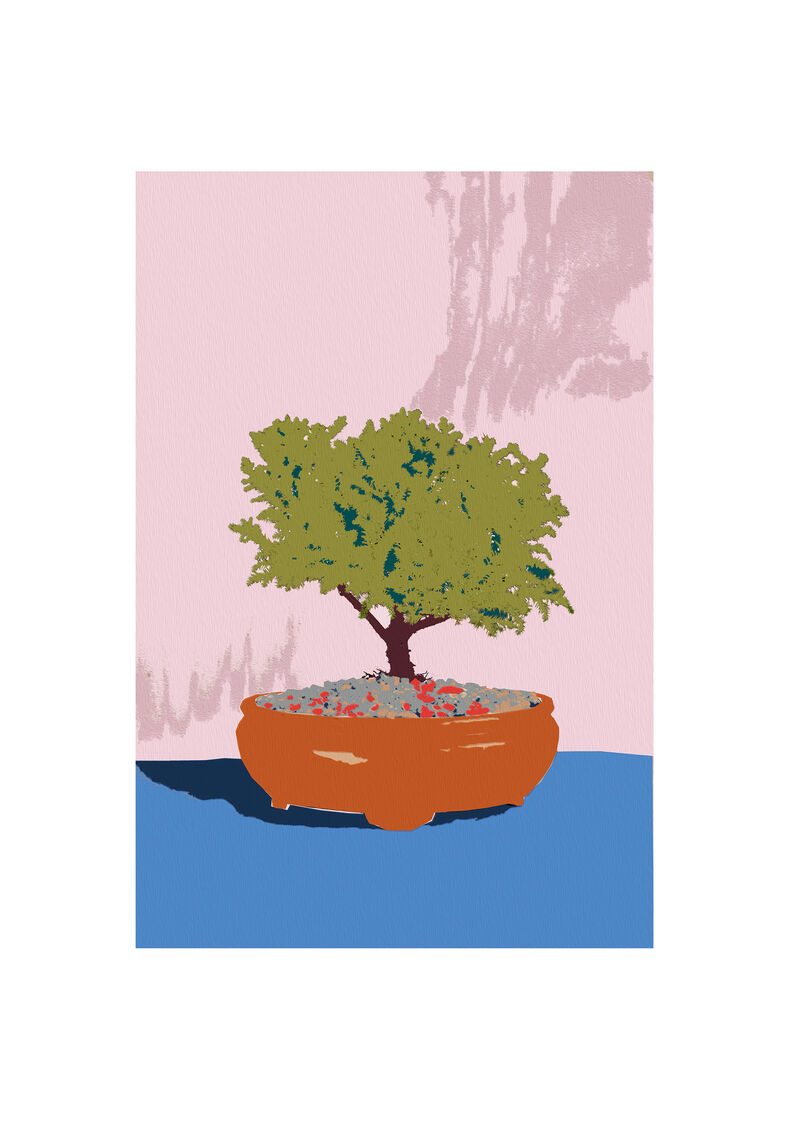
Now was time for the construction of my handmade assets. This meant creating a few still life setups against a plain backdrop. Getting the composition right at this stage was really important. With my mini studio set up, I used a reflector with natural light and my DSLR camera to shoot. Because I knew I was going to be heavily editing the photos in photoshop, it didn't matter too much whether it was the perfect photograph or not. Here are my still lives before editing/painting.
Once my assets were constructed and captured, the idea was to ‘paint’ using photoshop, letting the digital program make most of the selections/decisions, using mostly the magic wand, paintbrush, and paint bucket tools.

My Process:
- Open image in photoshop.
- Duplicate the background layer and begin to digitally ‘cut out’ (using the polygonal lasso tool) each part of the picture (different colour for everything being cut out).
- Once each part of the picture is cut out and copied onto a separate layer, I started painting.
- When everything was coloured I applied a subtle oil paint filter.
- Next, I saved the image so far and opened the saved jpeg into Adobe Illustrator.
- I selected image trace: make and expand.
- I then copy and paste this into the photoshop painting file and selected overlay and lightened the opacity.
- I then made small adjustments that were needed for each individual image.
- Save image as a high res JPEG.
And just like that, I'm done! The Digital Handmade Project urged me to try some handmade to digital techniques that are a bit out of my usual photo-based realm. As well as providing some good ole creative stimulation during this lockdown.